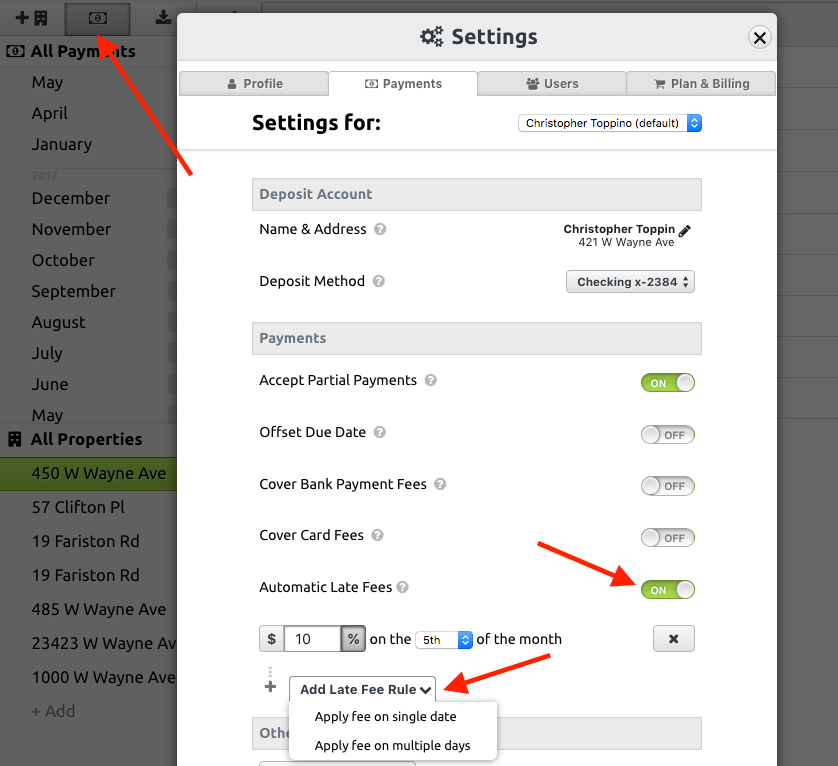
Using PlacePay, you’d need a specific subscription to access an automatic late fee feature. With that specific subscription or feature enabled, you would have followed the steps below to set up the fees:
Go to Payment Settings by selecting the icon in the upper left corner of your dashboard or from the mobile drop down. Then towards the bottom, toggle “On” the switch next to “Automatic Late Fees”. Then you can start adding the rules of your choice.
Using Innago, late fees can be added from your account settings and applied to all properties by default. There is no additional subscription or special access required. Late fees can also be added on a property-by-property, and even a unit-by-unit basis. Property settings will always override account settings, so you can customize as needed.
To change late fee settings for your account as a whole:
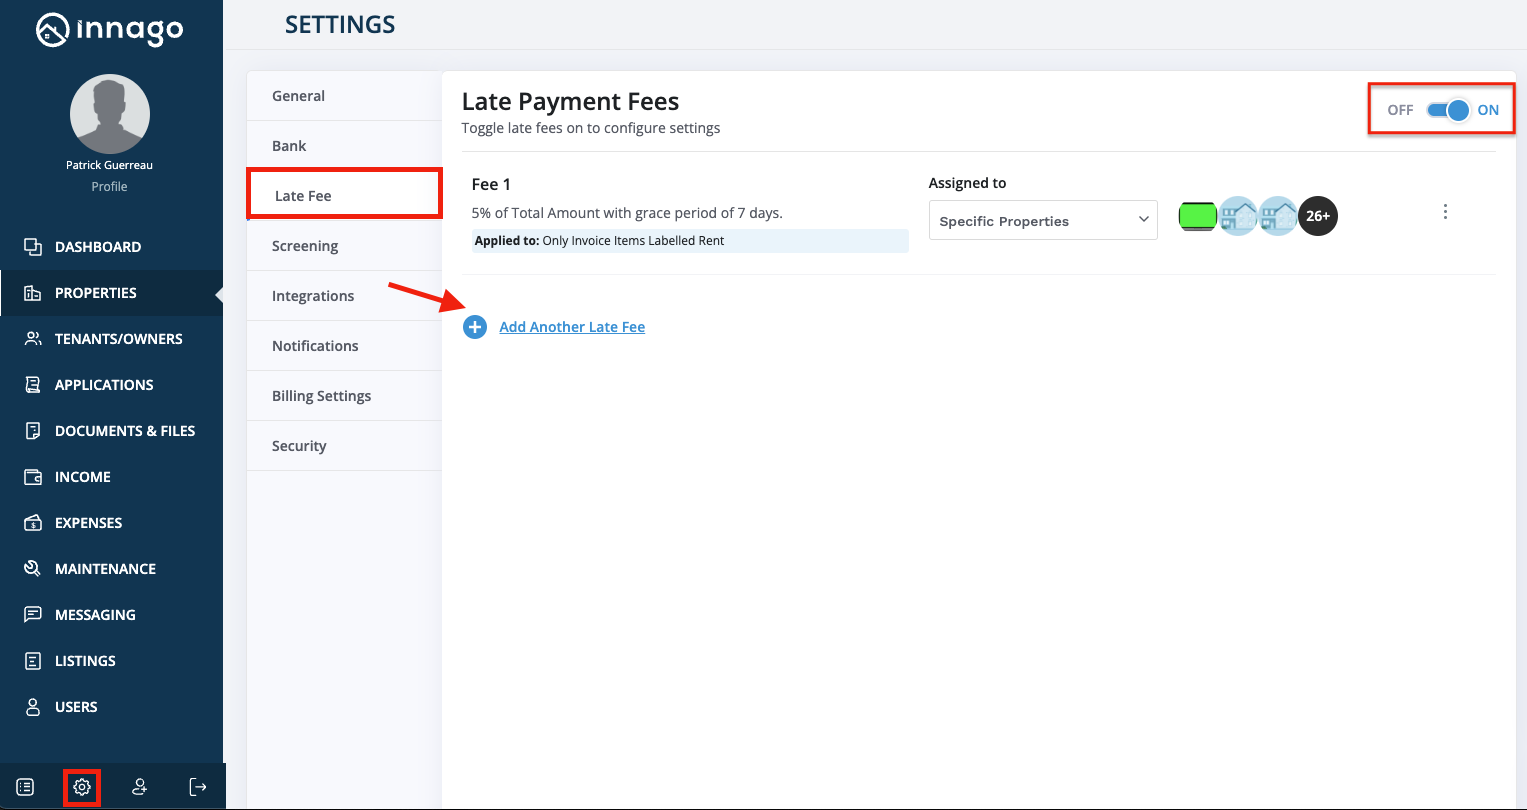
1. From the Innago menu on the left, click ‘Settings’ (the gear icon).
2. From the Settings menu, select ‘Late Fee’.
3. Toggle the late fee setting ‘On’ and click ‘Add New’.
4. Here, you can go through the process of setting up your late fees. If you need assistance understanding the Late Fee Settings, you can click here.
5. Once setup, check the properties in which you would like the late fee applied to.
To change late fee settings for a specific property (overriding your account late fee settings on that property):
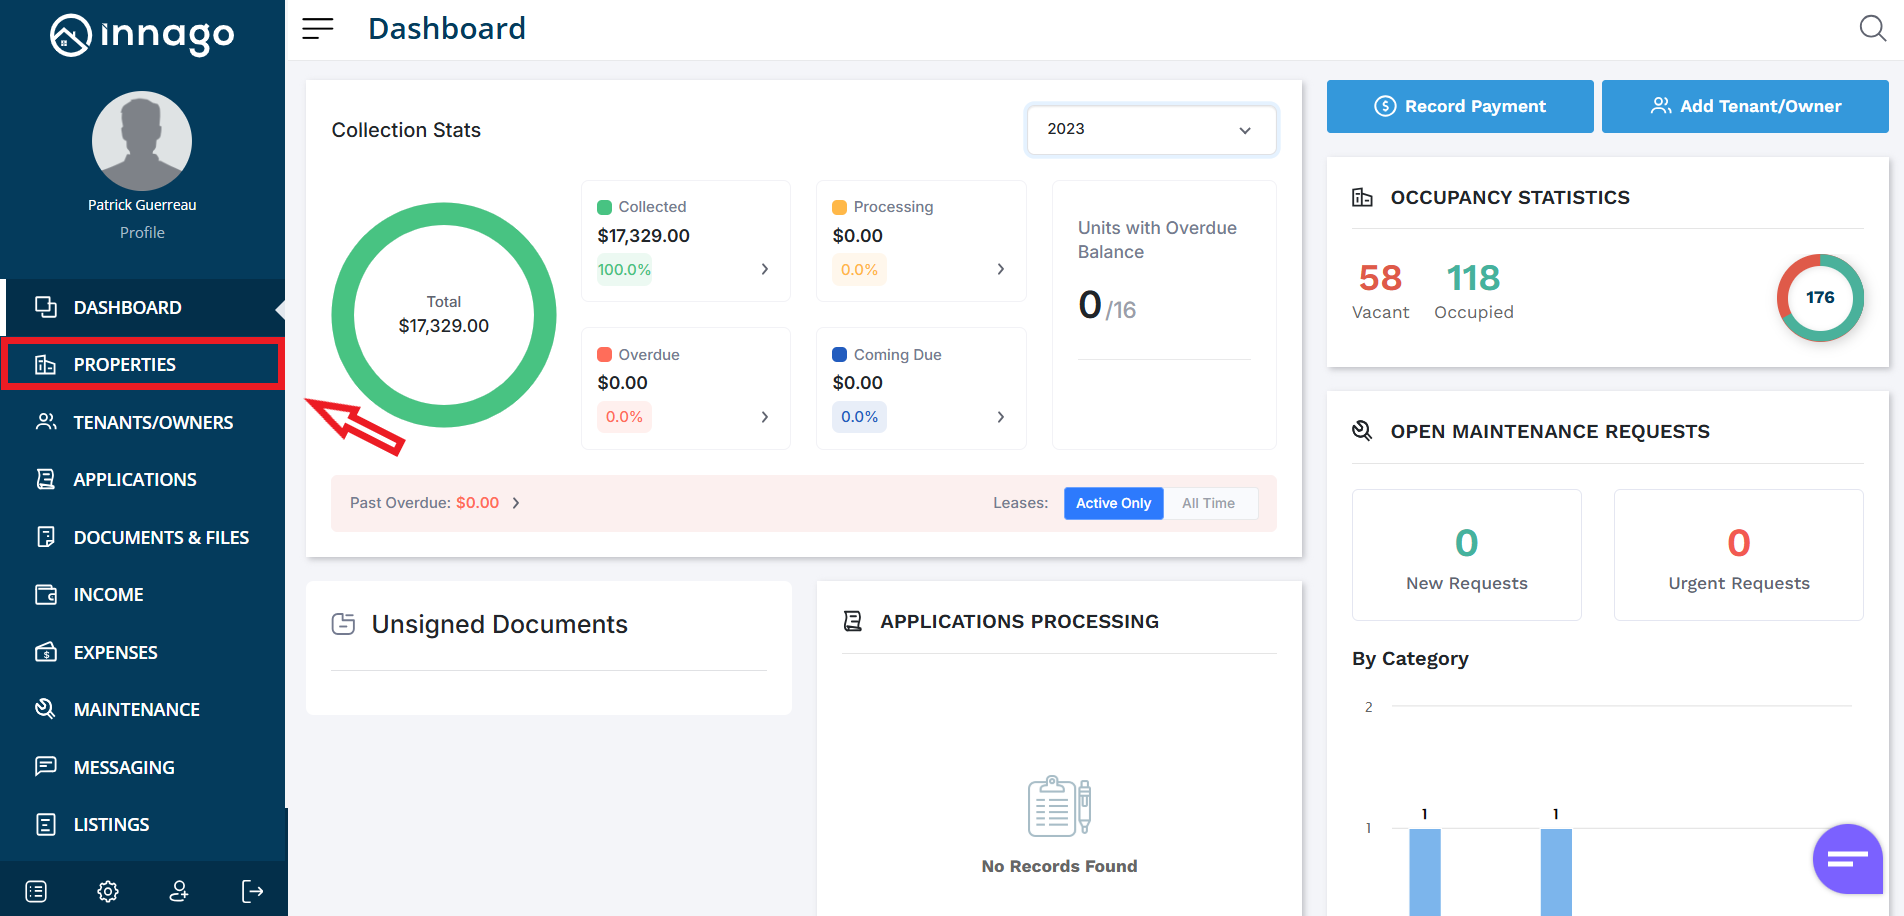
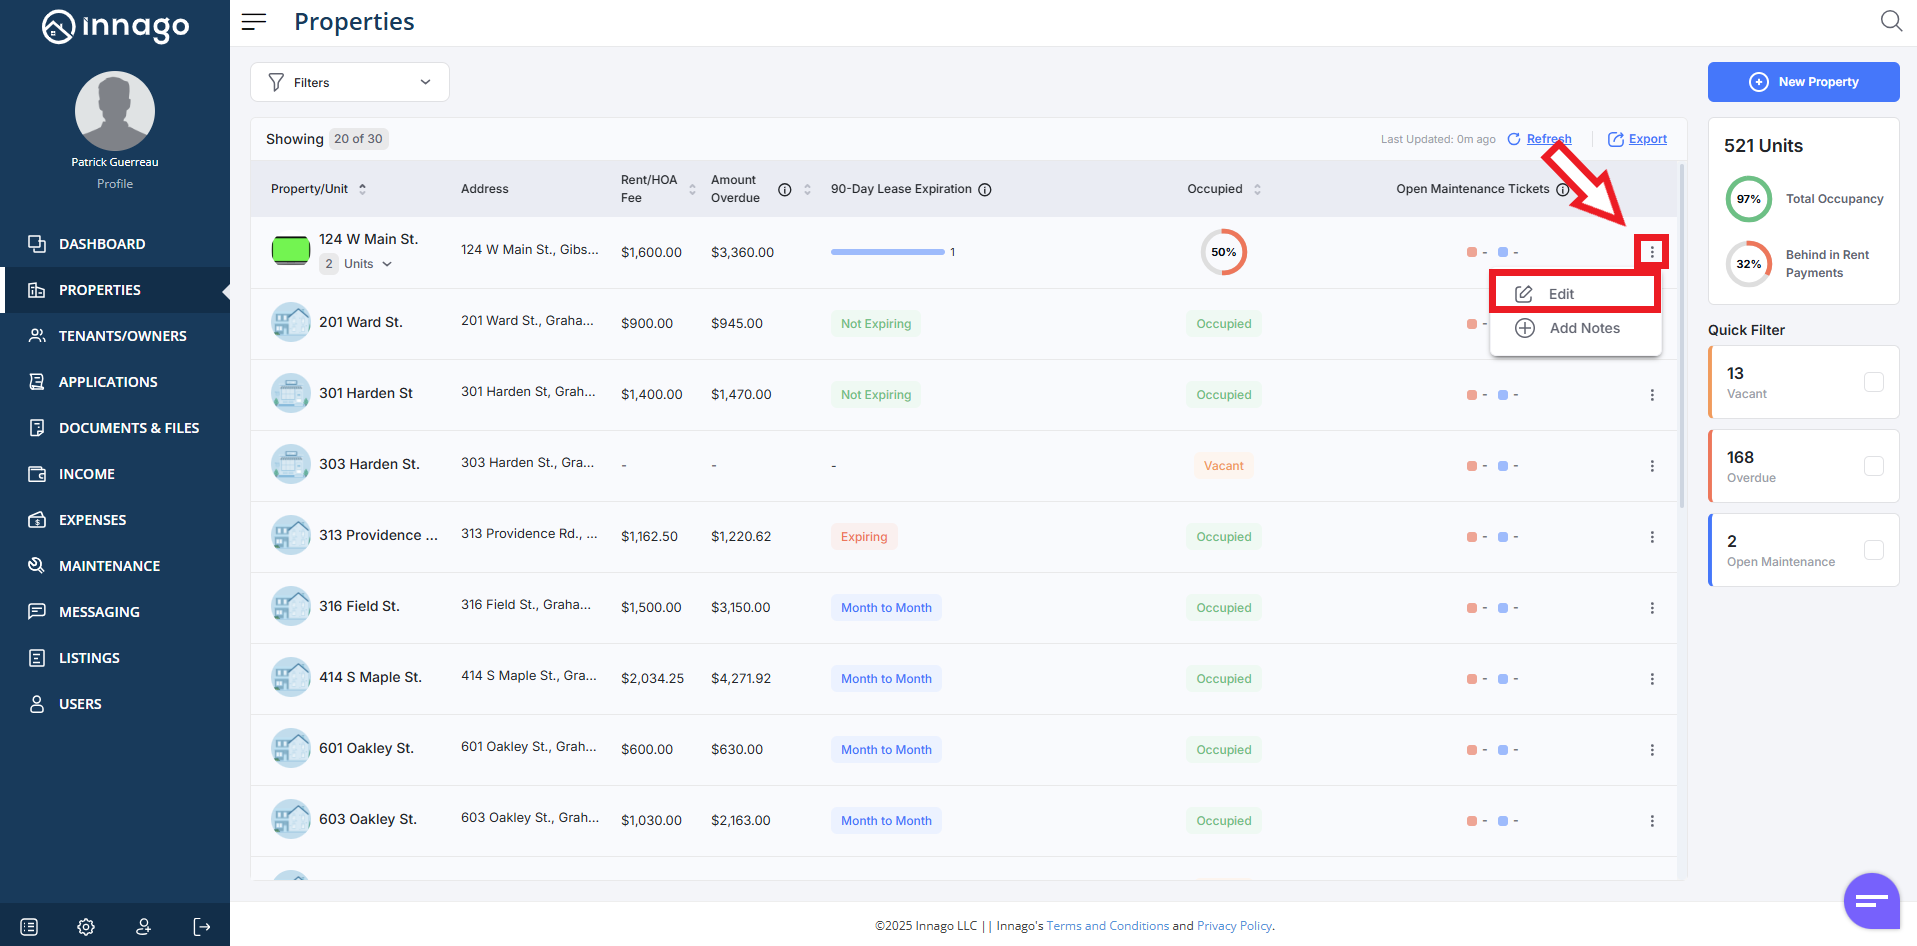
1. From the Innago menu on the left, click ‘Properties’.
3. In the top right corner, click ‘Edit Property’.
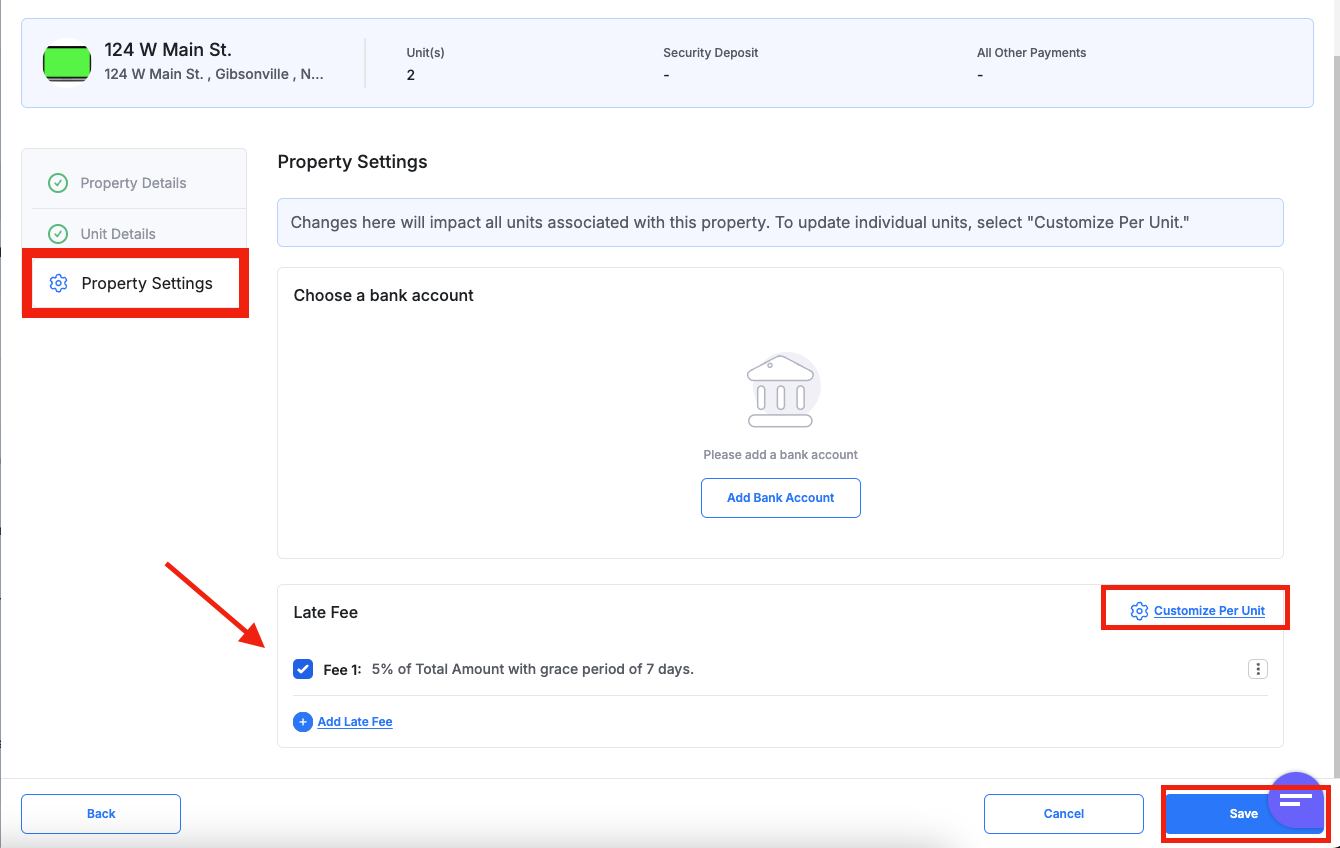
4. On the left hand side, click the ‘Property Settings’ tab.
5. You will be able to assign any existing late fees or add a new late fee here. You can also choose ‘Customize Per Unit’ if you would like to apply it on a per unit basis here.
6. Click ‘Save’ to update your late fee settings.