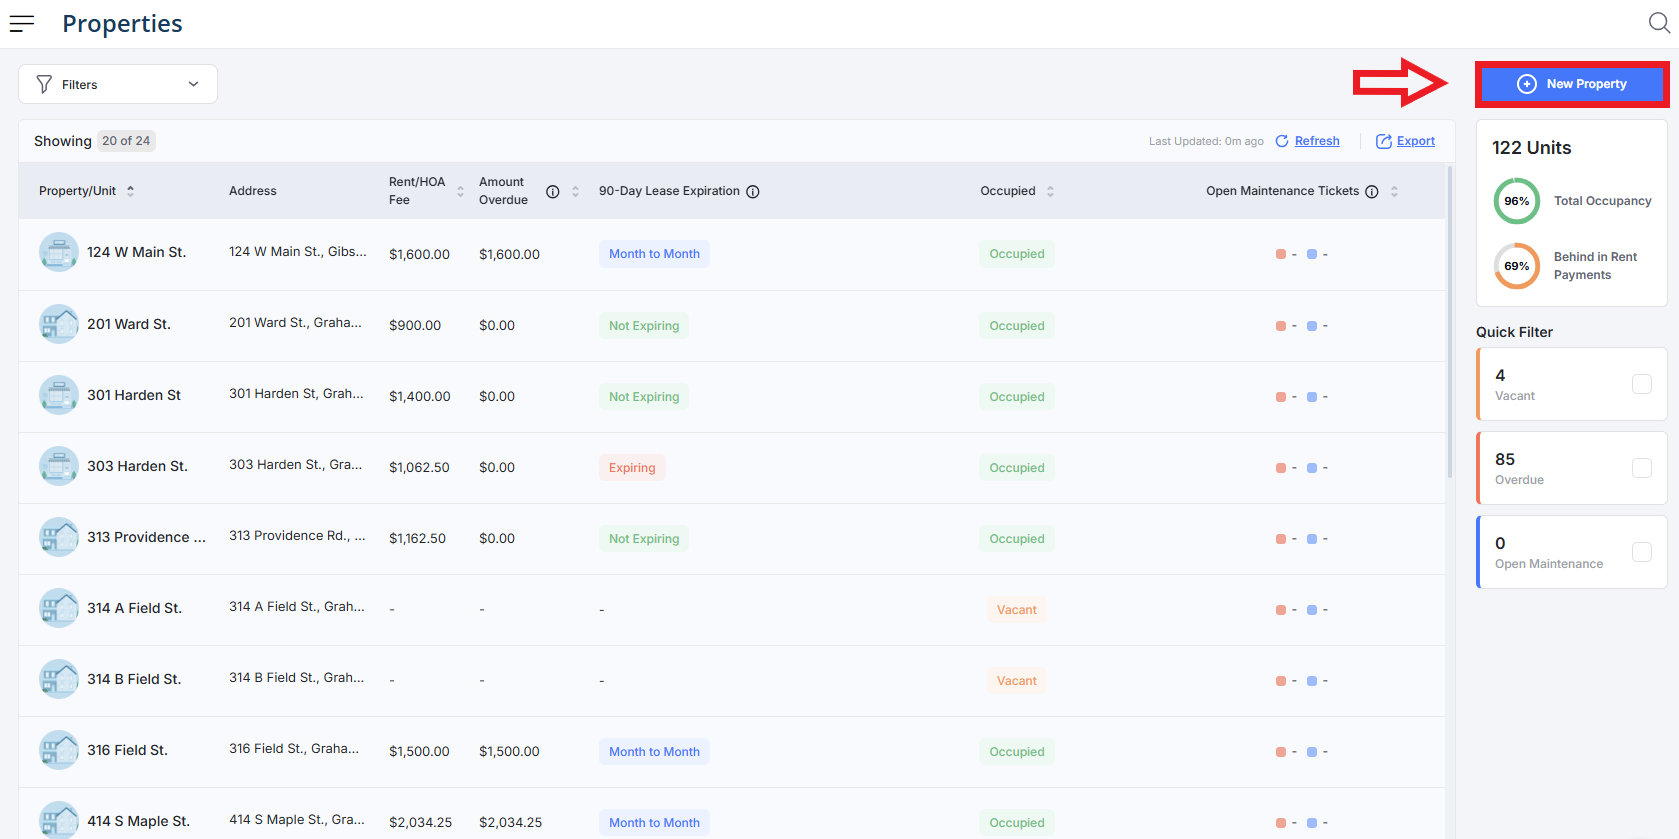
1. From the Innago menu on the left, click “Properties”.

2. In the top right corner, click “New Property”.

3. From here, you can add Property Details, such as the property address, name, and type. If this property has specific contact information that you’d like to set, you can also click “Property Contact Info”.
Please note, Tags is just an optional field that helps us collect data to improve our platform. Click “Next” to proceed.

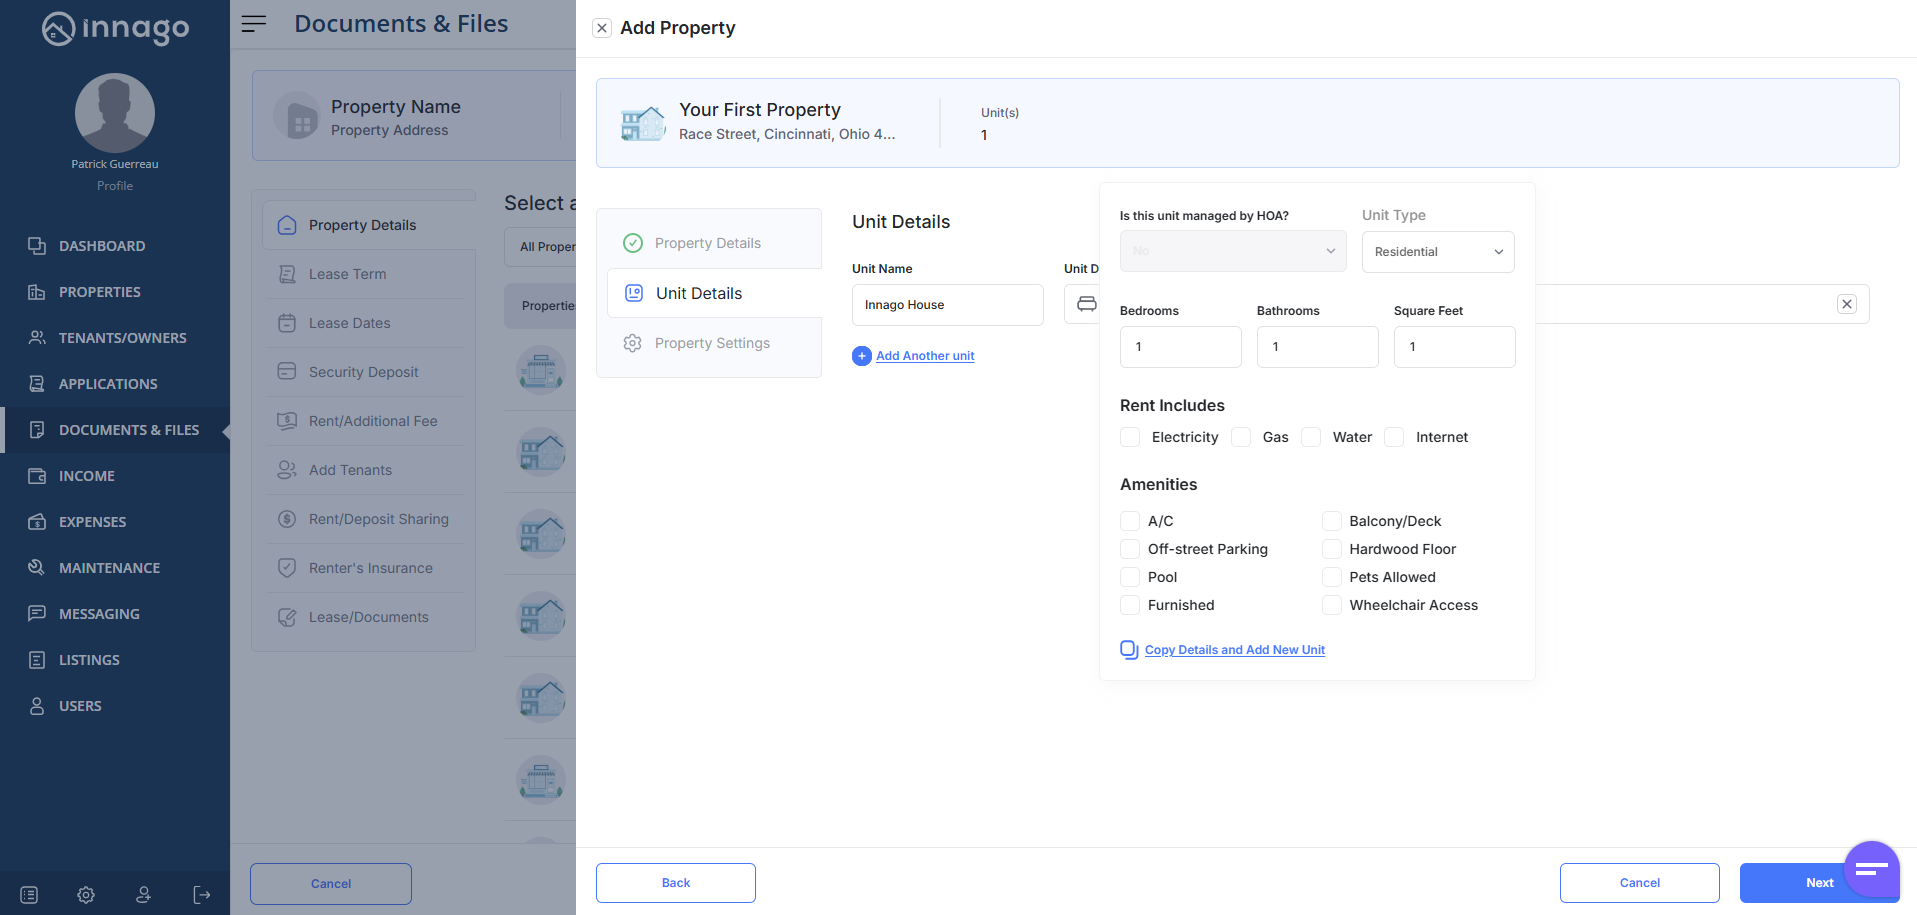
4. Enter your unit name(s) and unit details. If this is a house, we recommend just naming it “House”, or using the street address as a name. Click “Next”.

5. Lastly, you’ll be able to add a bank account and late fees to your property. If you need to customize these settings by unit, just click Customize Per Unit in order to make those specifications. Click “Save” to finish creating the property.

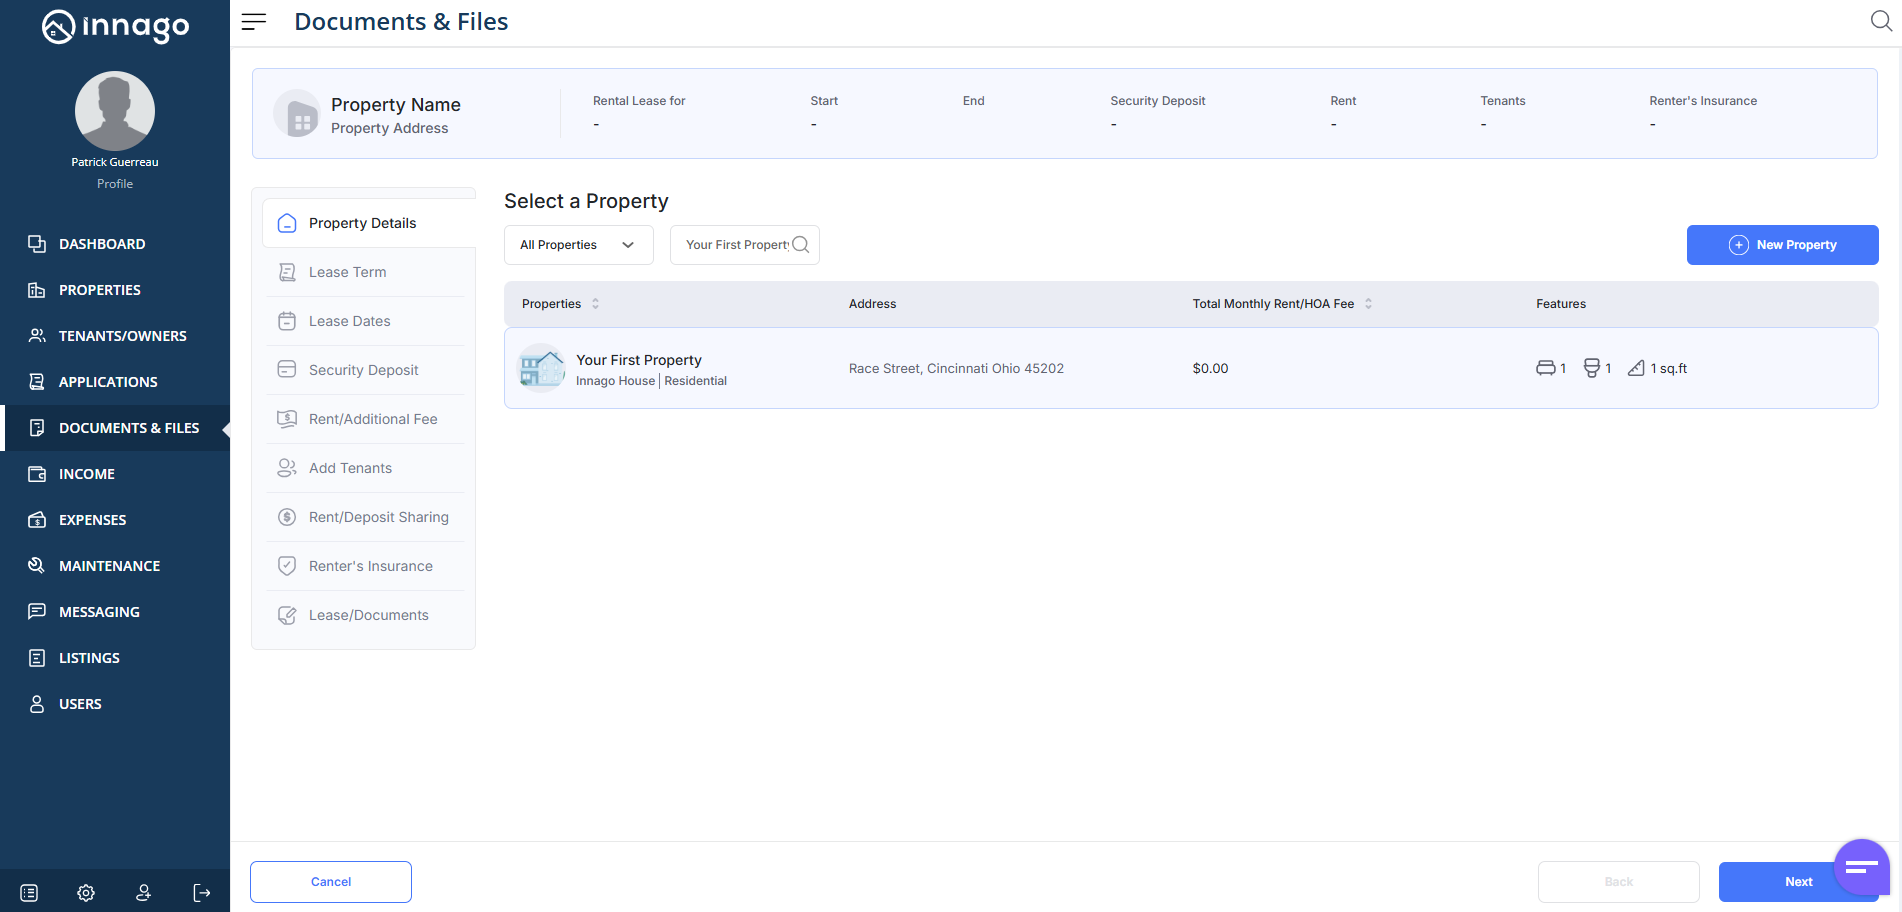
6. Once your property is saved, you’ll immediately enter the new lease term creation workflow. If you’re ready to set up your lease term, select your property and click “Next”.
If you’d like to set up your first lease term for this property later on, click “Cancel”. Please note, at this point, your property is already saved. Clicking the cancel button here is only cancelling the creation of a new lease term, which you can always create later!

Check out our tutorial video to learn more! – https://vimeo.com/539398381
