
Please note, before adding any bank account to Innago, you will be prompted and required to verify your identity. For more information on verifying your identity, please see the following article here.
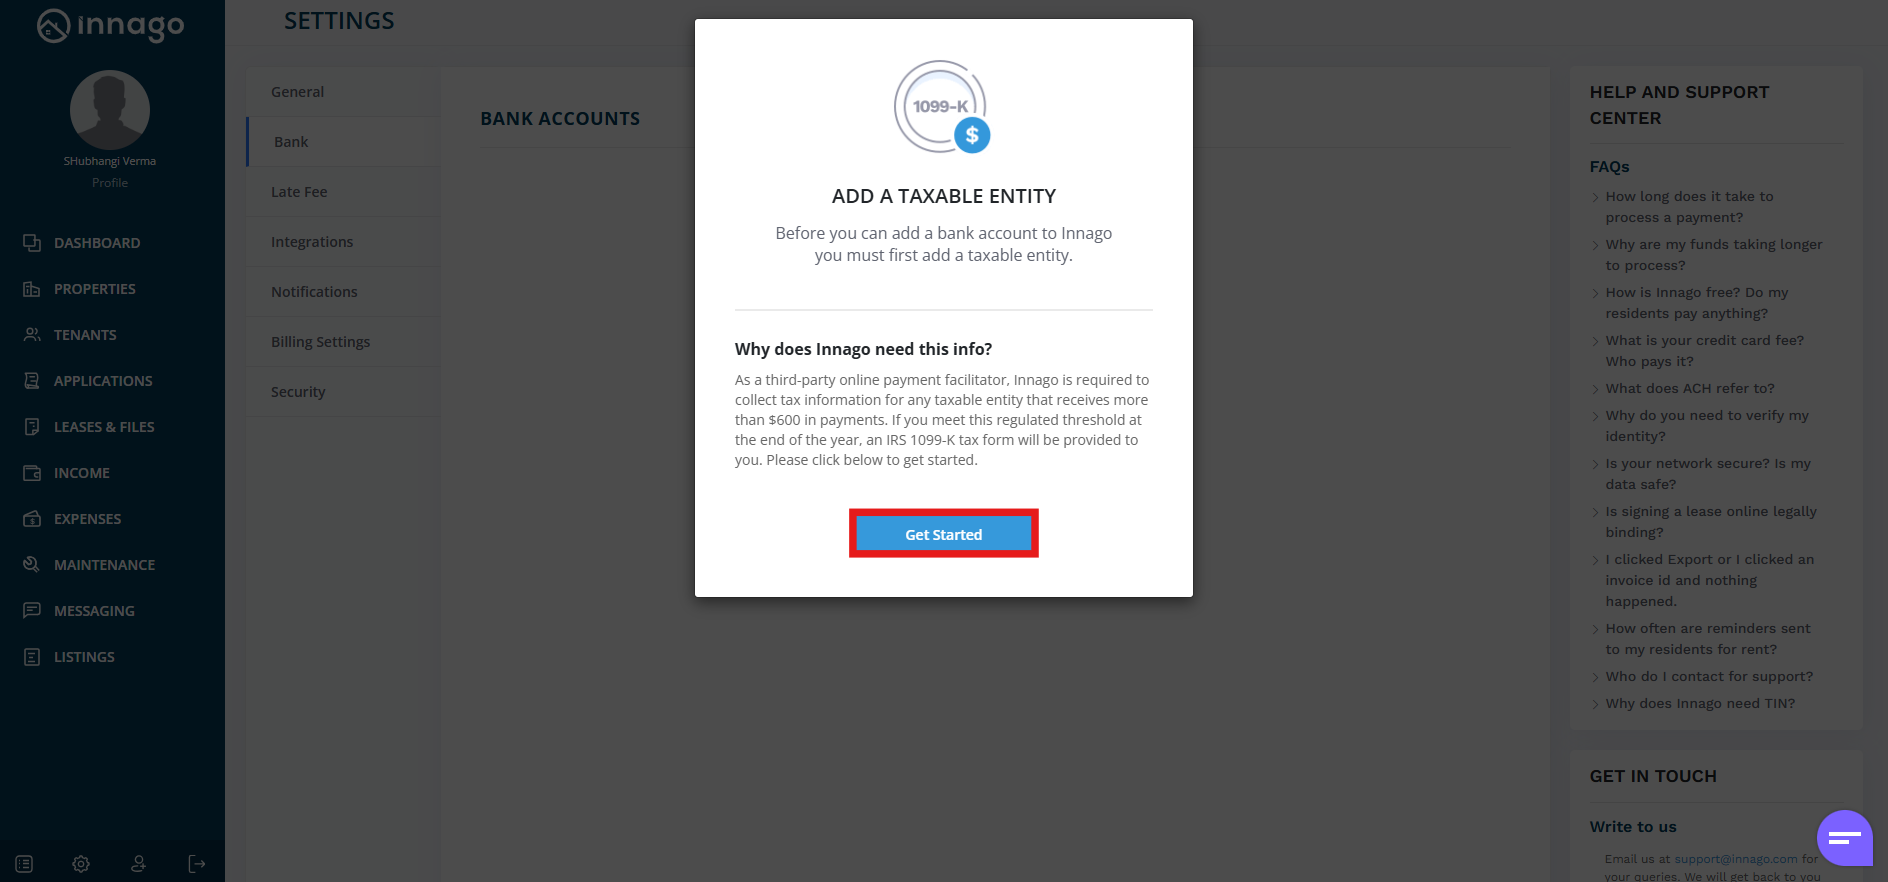
Once verified, you will have to provide business entity information for tax reporting purposes. For more information regarding business entities and tax reporting, please click here. In order to start the process, following these instructions below:
From Dashboard:
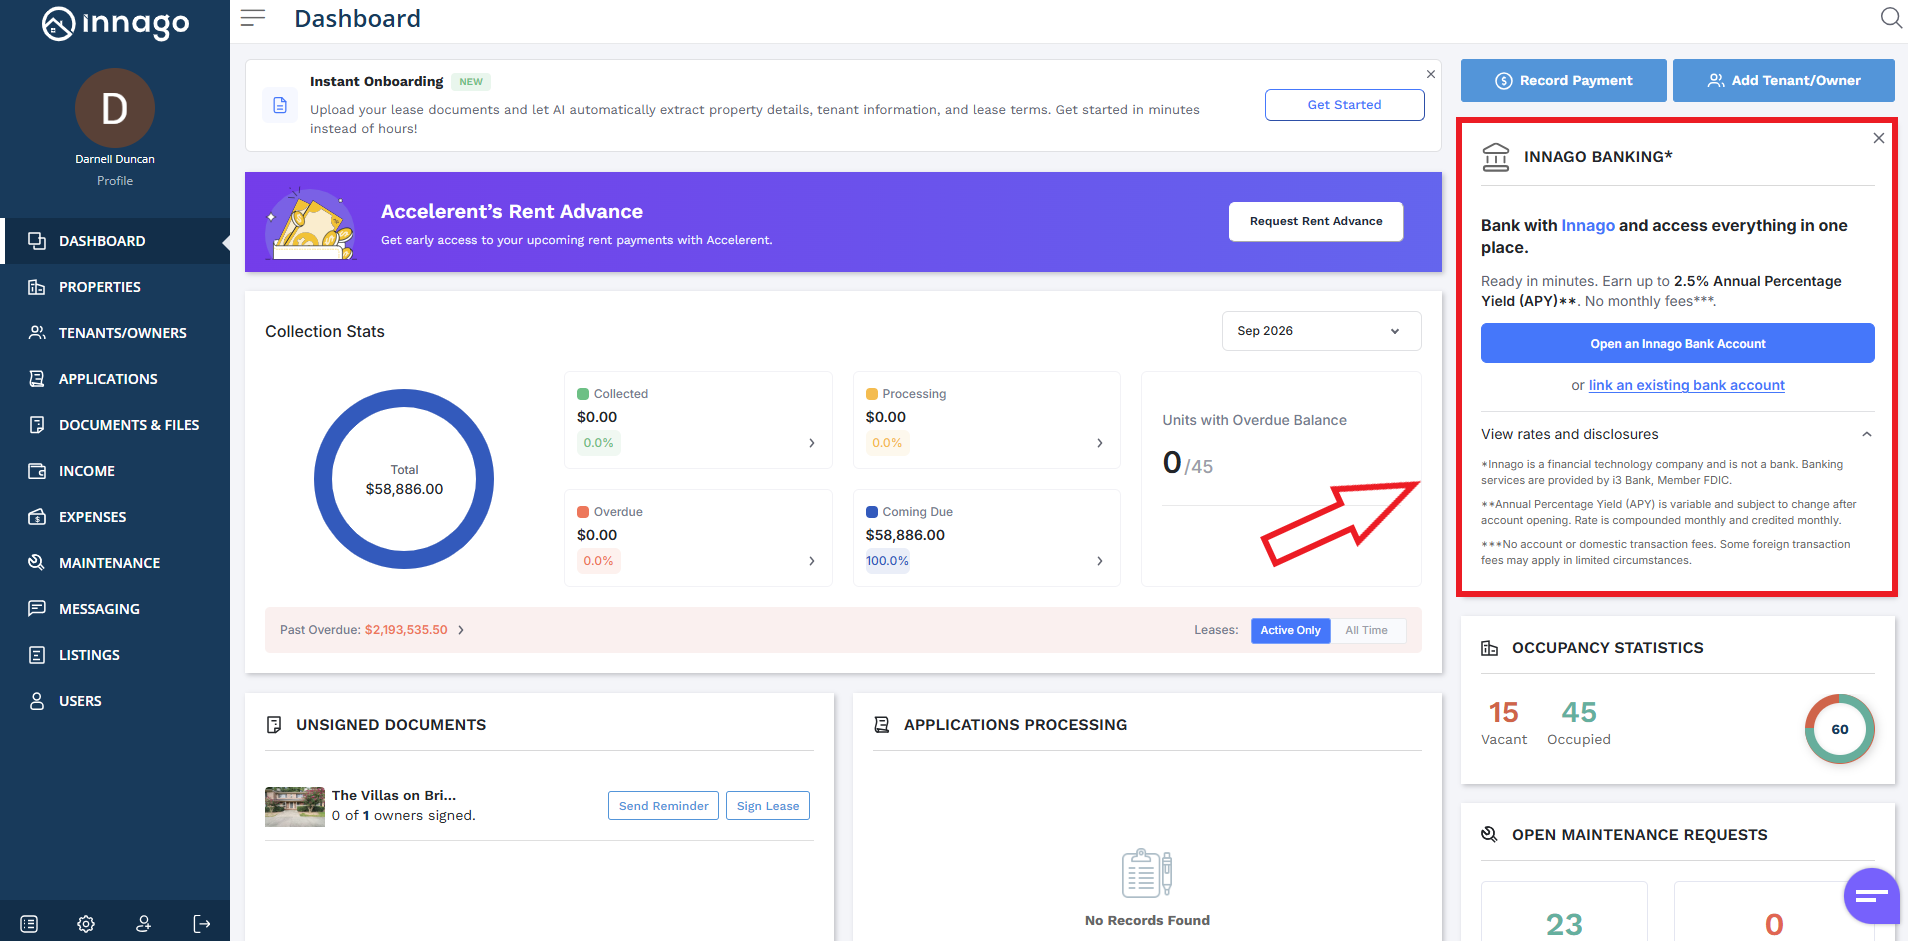
Click “Link an Existing Bank Account” from the Innago Banking section of your Dashboard.
From Settings > Bank:
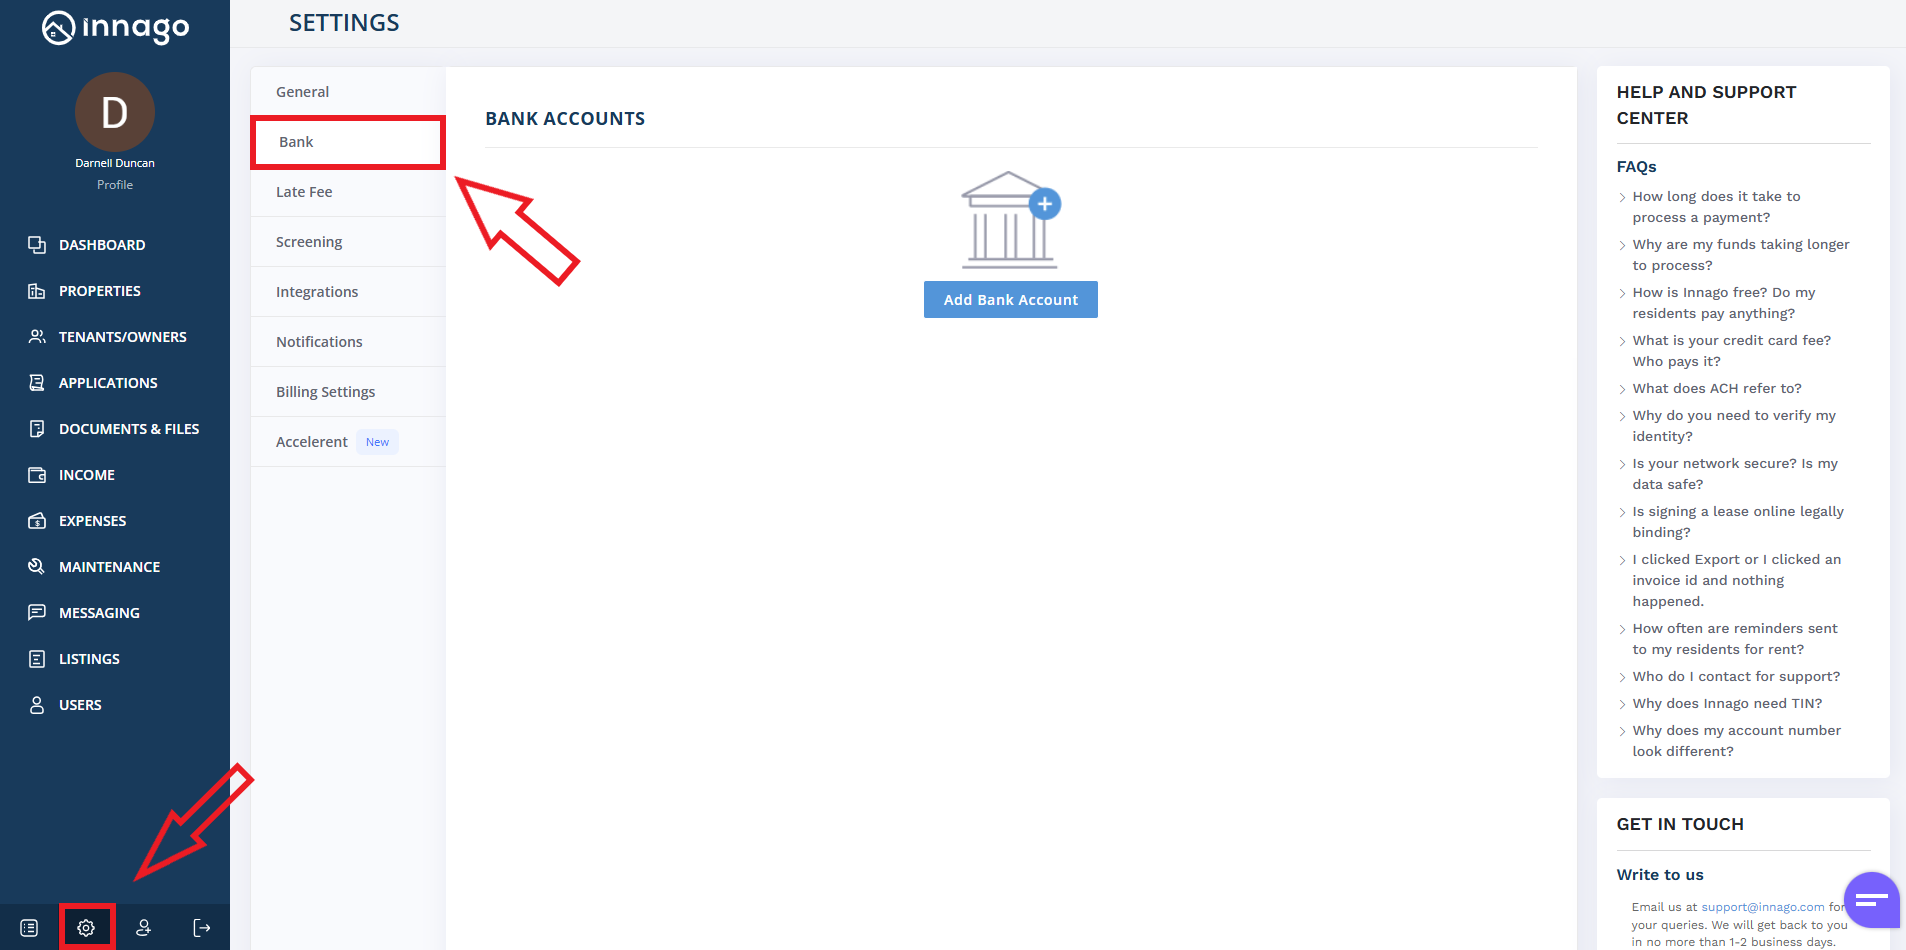
1. From the Innago menu on the left, click “Settings” (the gear icon).
2. From the Settings menu, select “Bank”.
3. Click the blue bar that reads “Add Bank Account”.
4. You’ll have the option to either open a new account, or add an existing account.
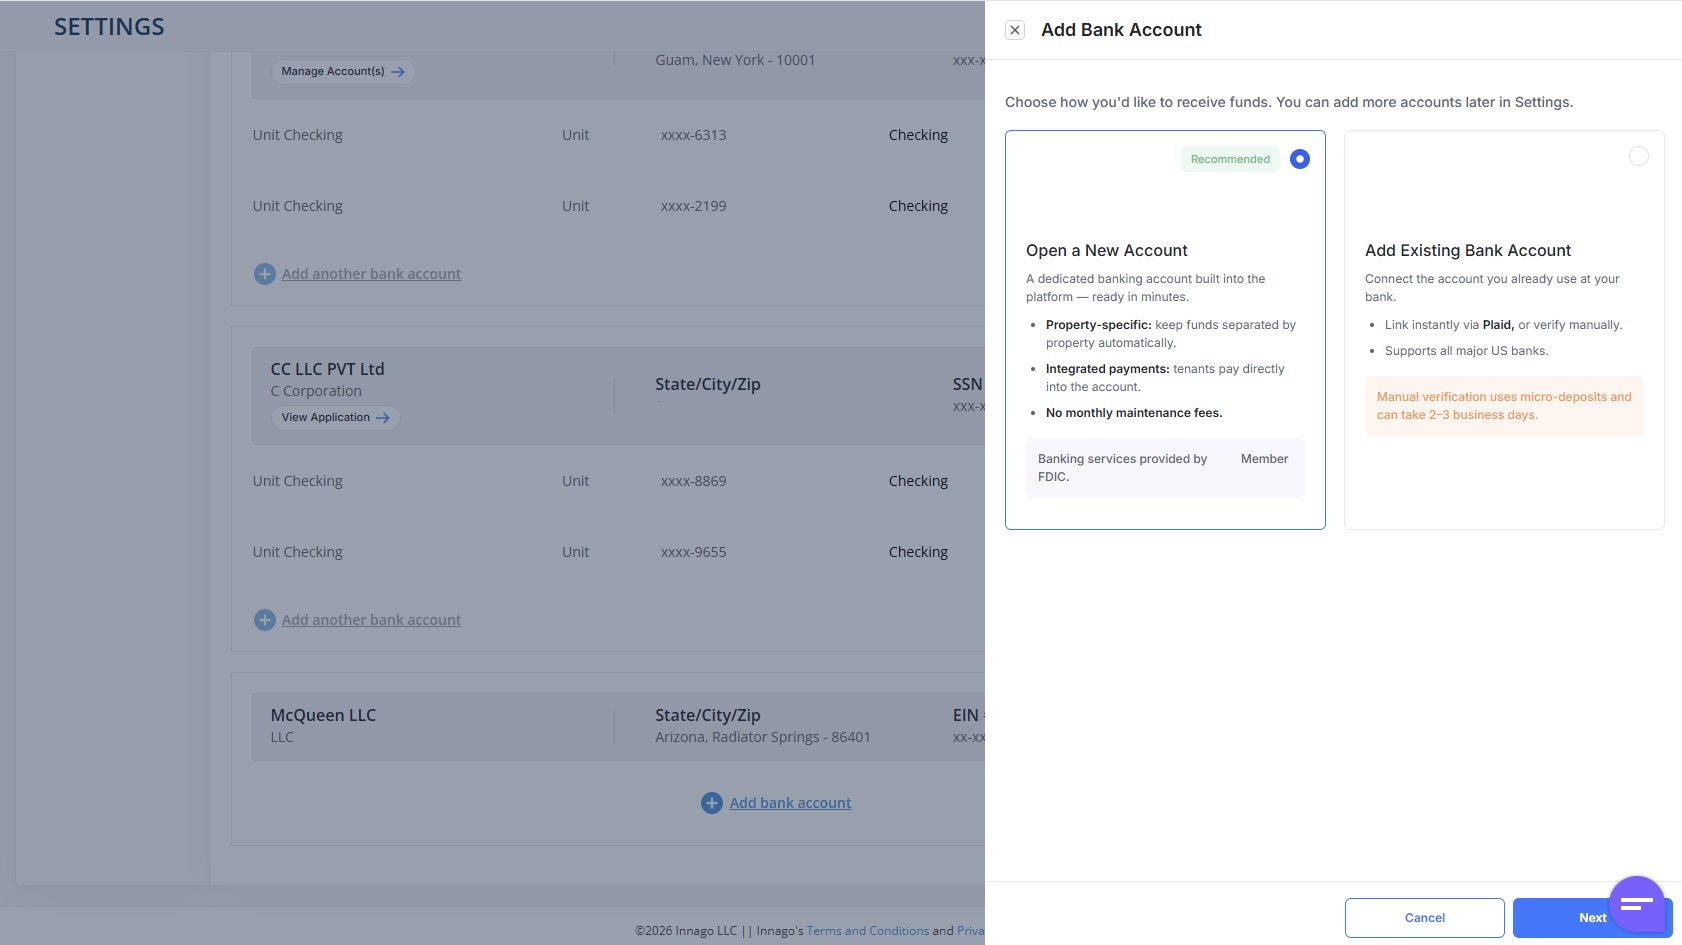
For more information on opening a new bank account, please click here.
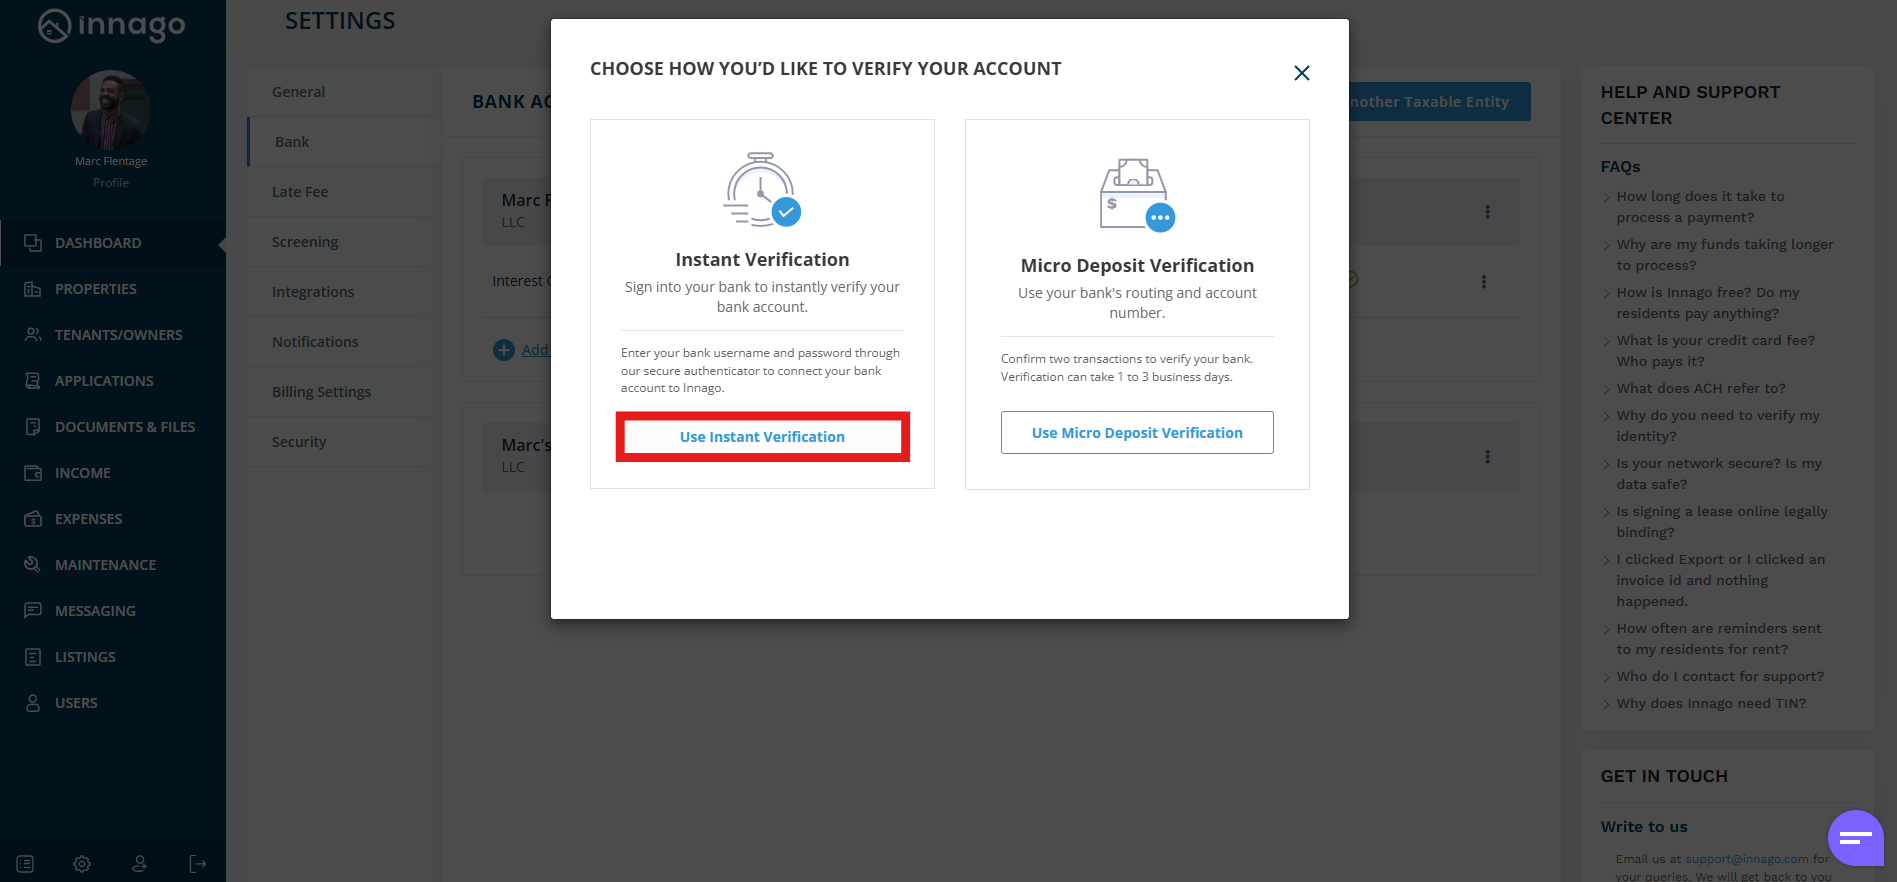
If you’re adding an existing bank account, you’ll have two options: Instant Verification and Micro-deposits.
Instant Verification
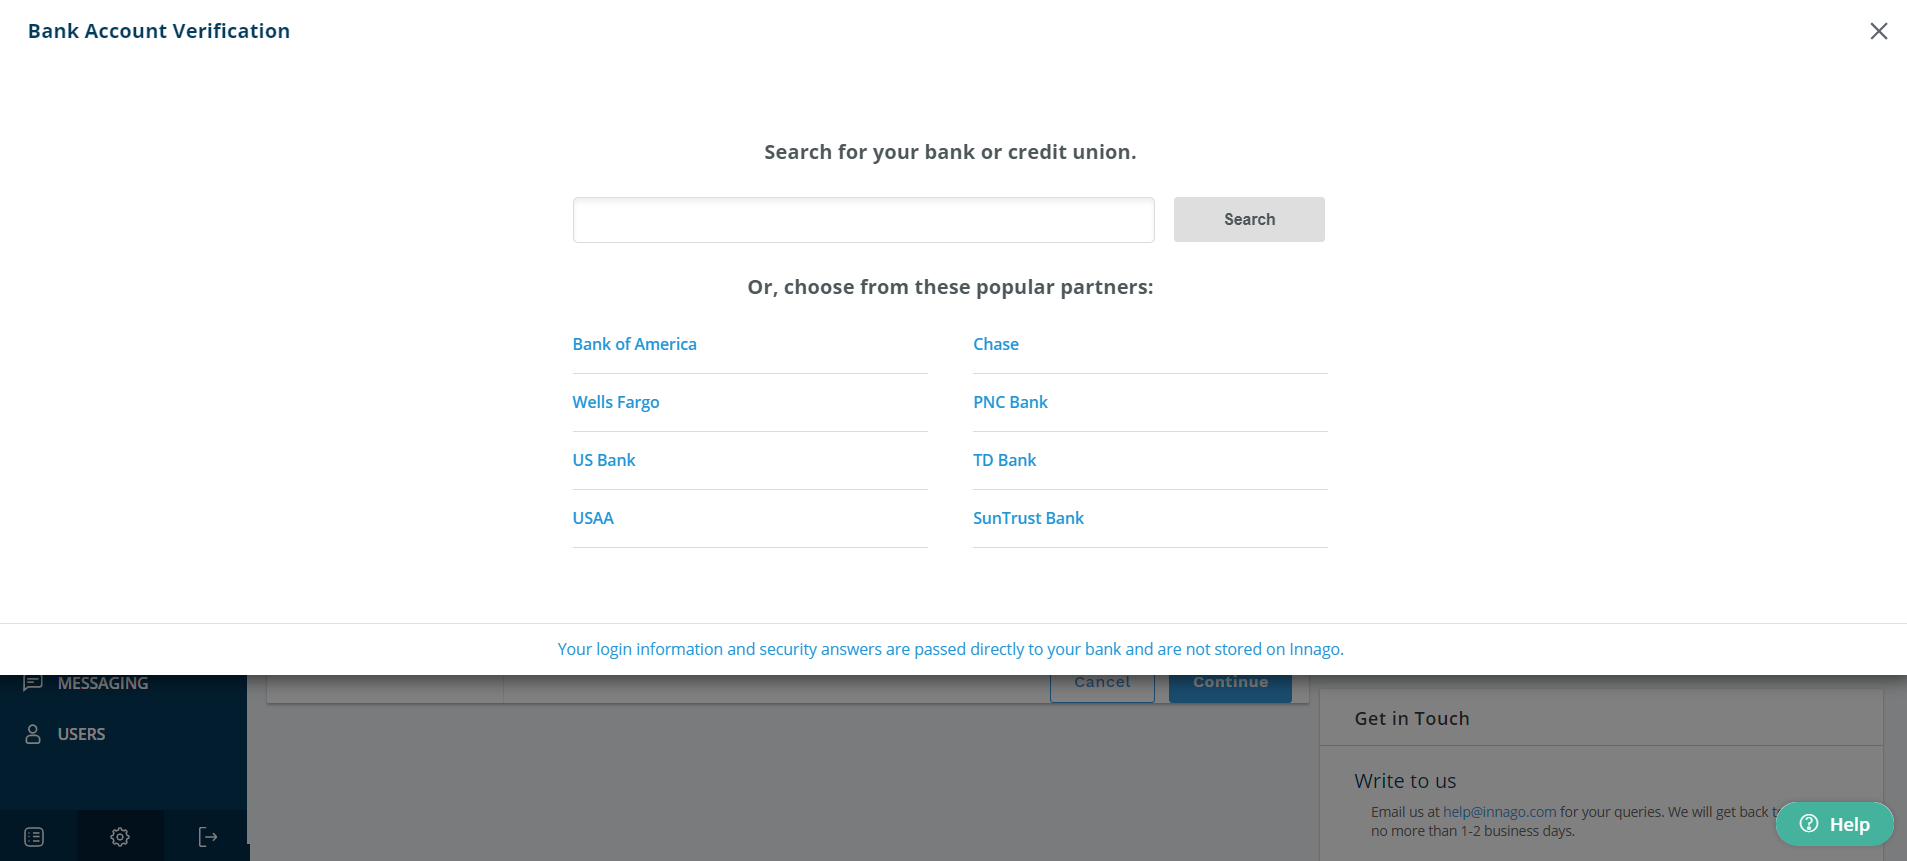
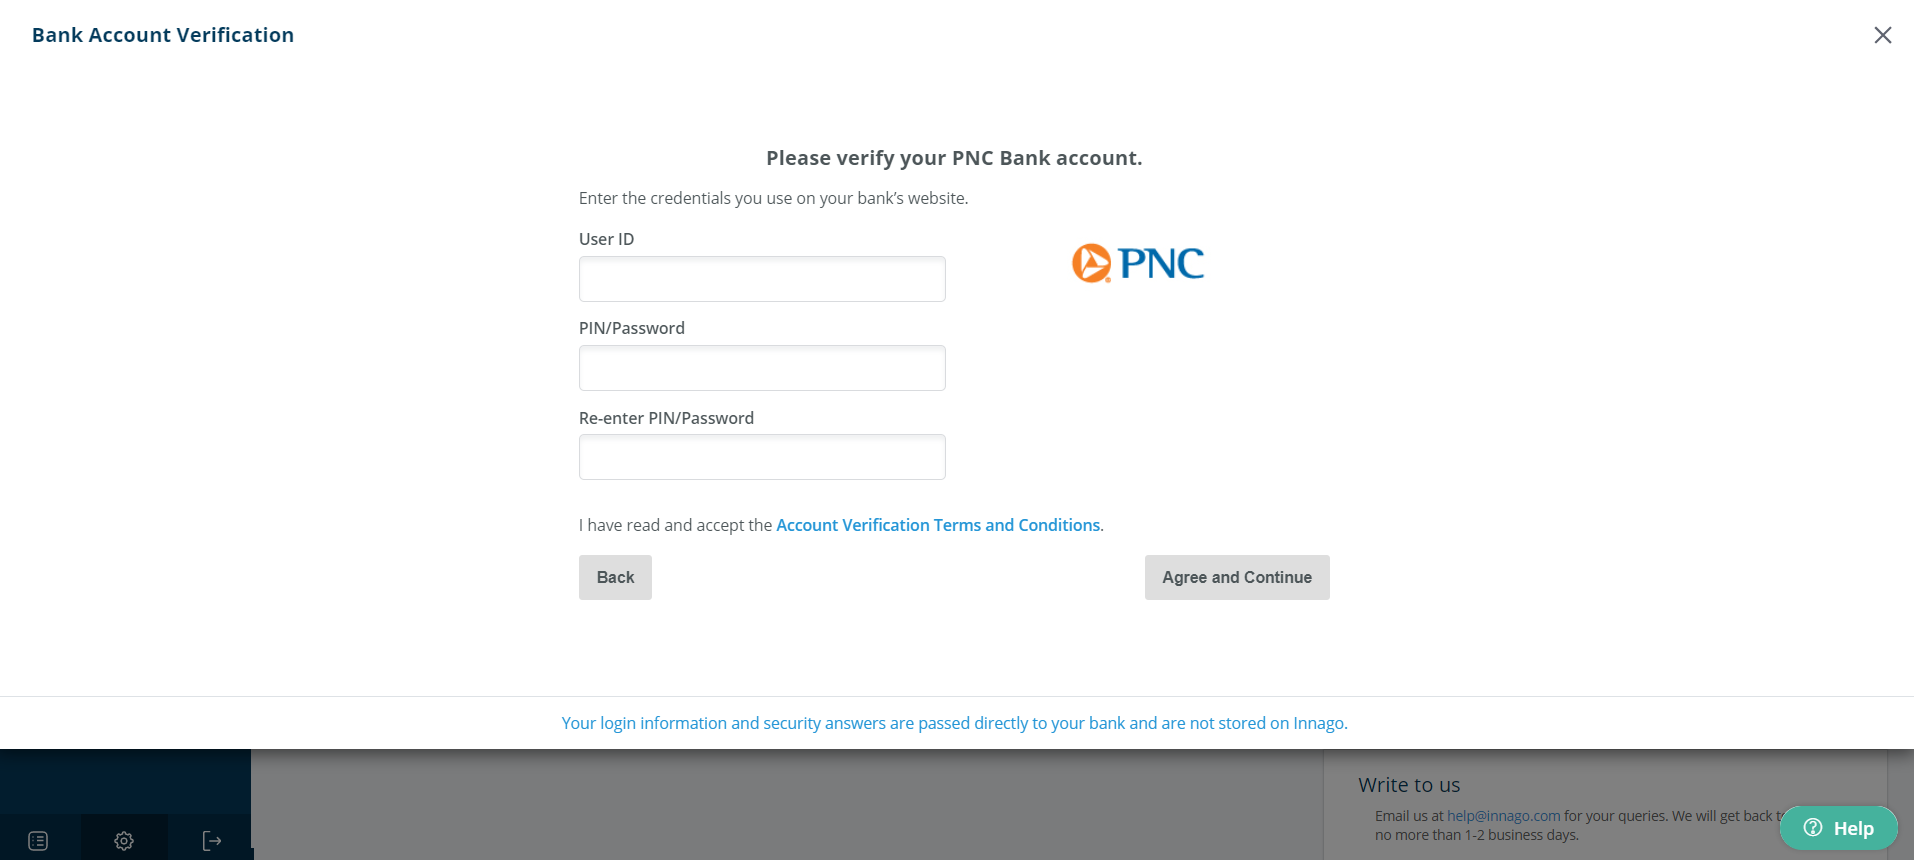
– More than 80% of financial institutions offer you the ability to instantly verify your bank account. To do so, you’ll enter in your username, password, and any authentication requirements your financial institution has set.
– Note: we cannot see or access this information at any time. Once verified, your bank simply passes us your account and routing number. It’s simple, secure, and fast.
Micro-Deposits
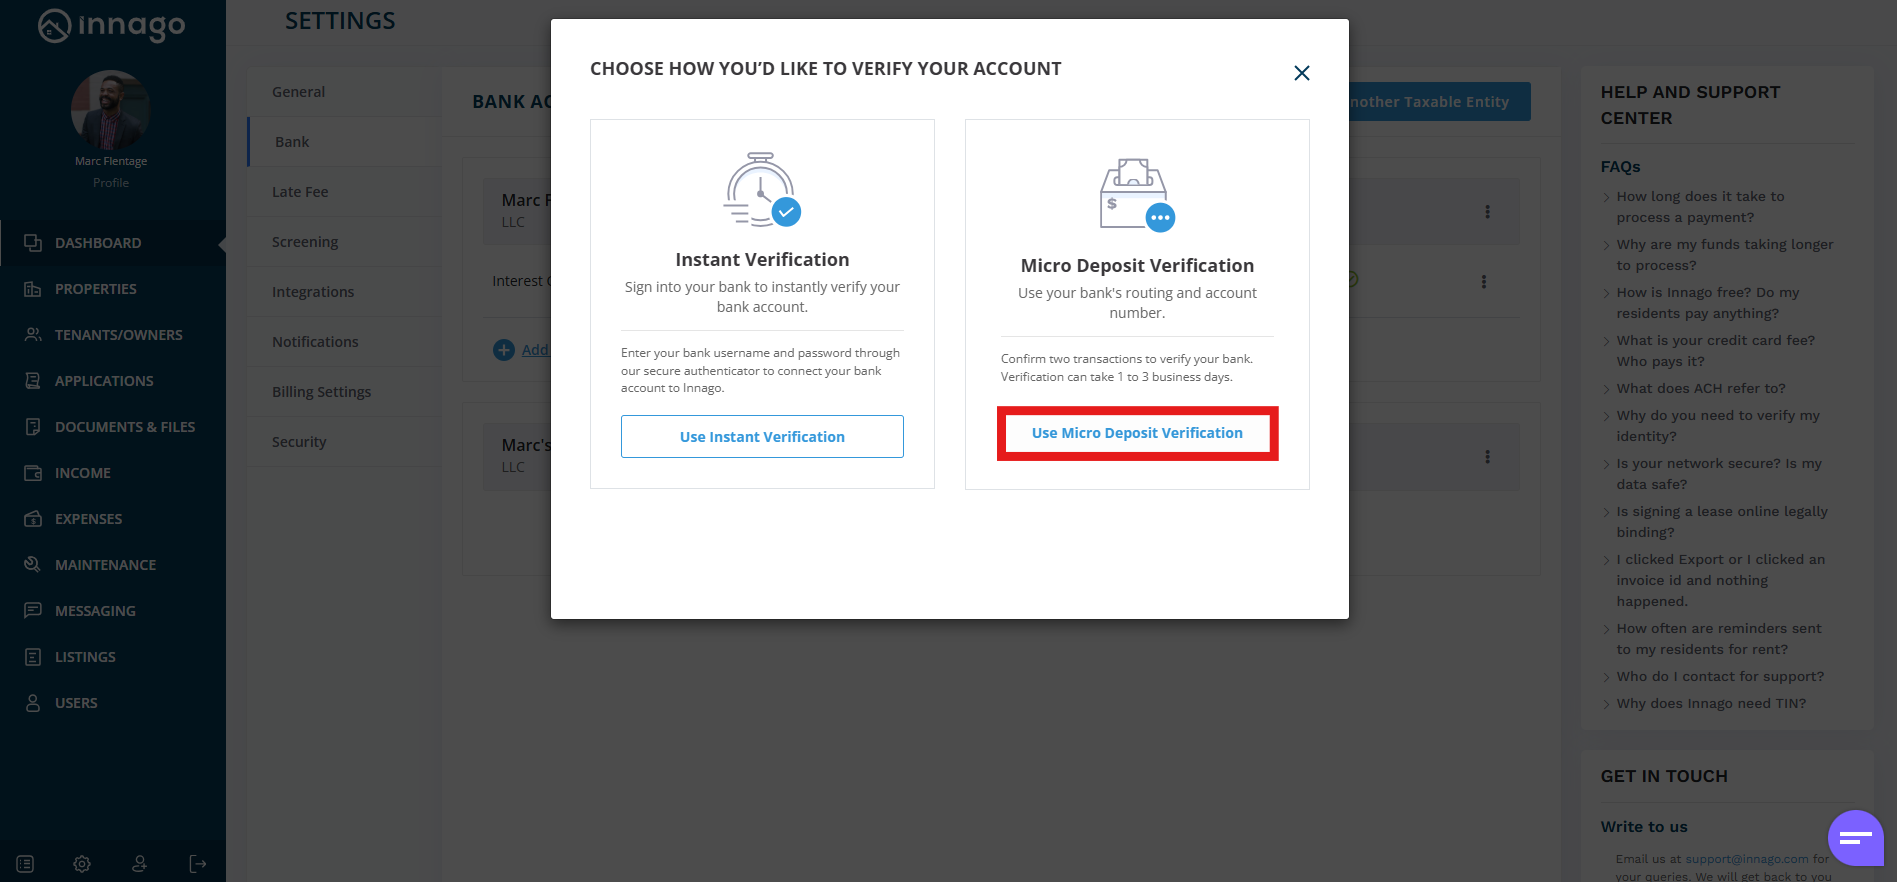
– If your bank does not offer the ability to instantly verify your account or if you’d prefer not to do so, you can verify using micro-deposits.
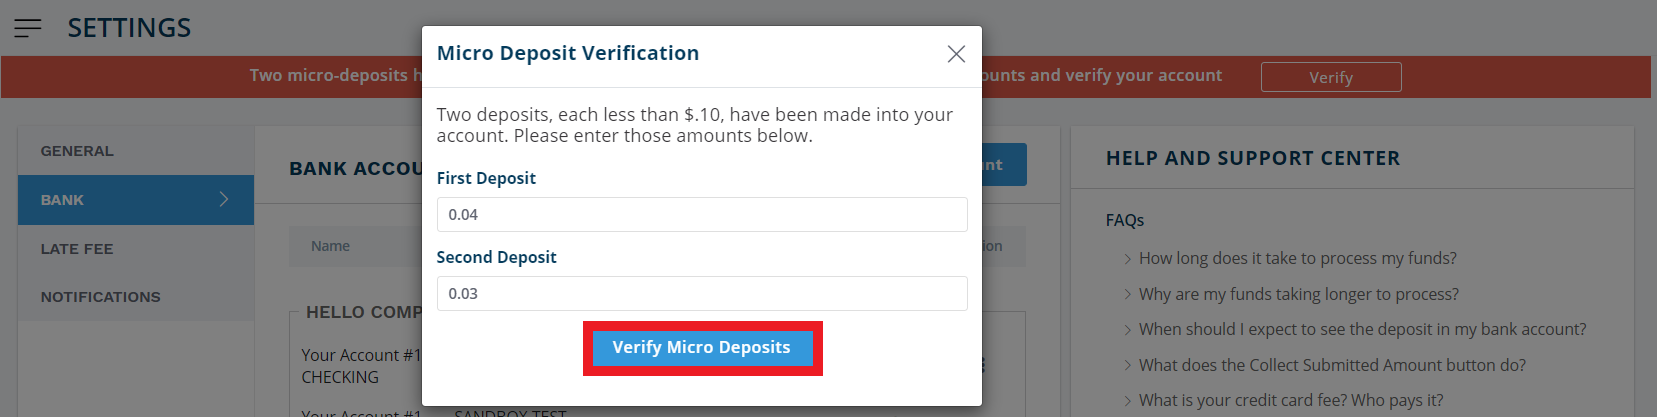
– You will enter in your account and routing numbers. Two deposits, each less than ten cents will be sent to your account.
– If the micro-deposit service is initiated on a business day before 5PM est, the deposits will arrive the following morning by 10AM est. Otherwise, add an additional business day (e.g. if you start the process on Saturday, the deposits will arrive by Tuesday).


Once verified, your bank account can be assigned to properties, and you can begin collecting rent!