
1. From the Innago menu on the left, click “Leases and Files”.
![]()
2. Select the lease term you would like to set up escalations for by clicking anywhere within the row that includes its details, or create a new lease by click “New Lease”.
![]()
3. If you selected a pre-existing lease term, near the top-right corner of the screen, click the set of vertical dots as shown below to access the action menu. Click “Edit Lease”.

4. For either a new lease or existing lease, you’ll proceed past the first screen by clicking “Next”.

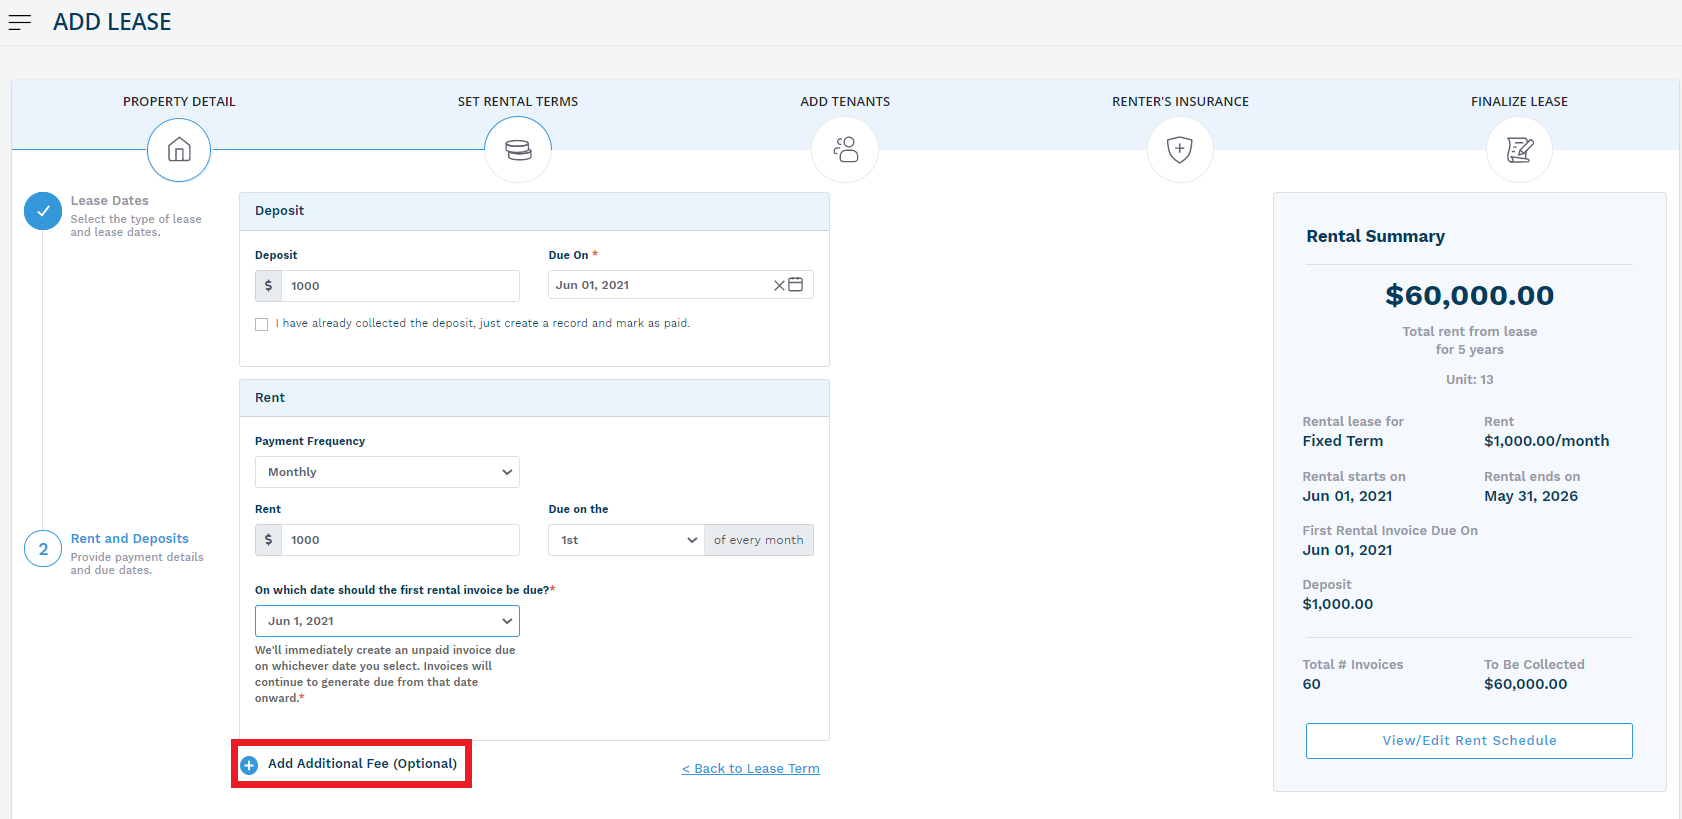
5. Once you’re on the the Set Rental Terms page, click on the “Add Additional Fee” button:
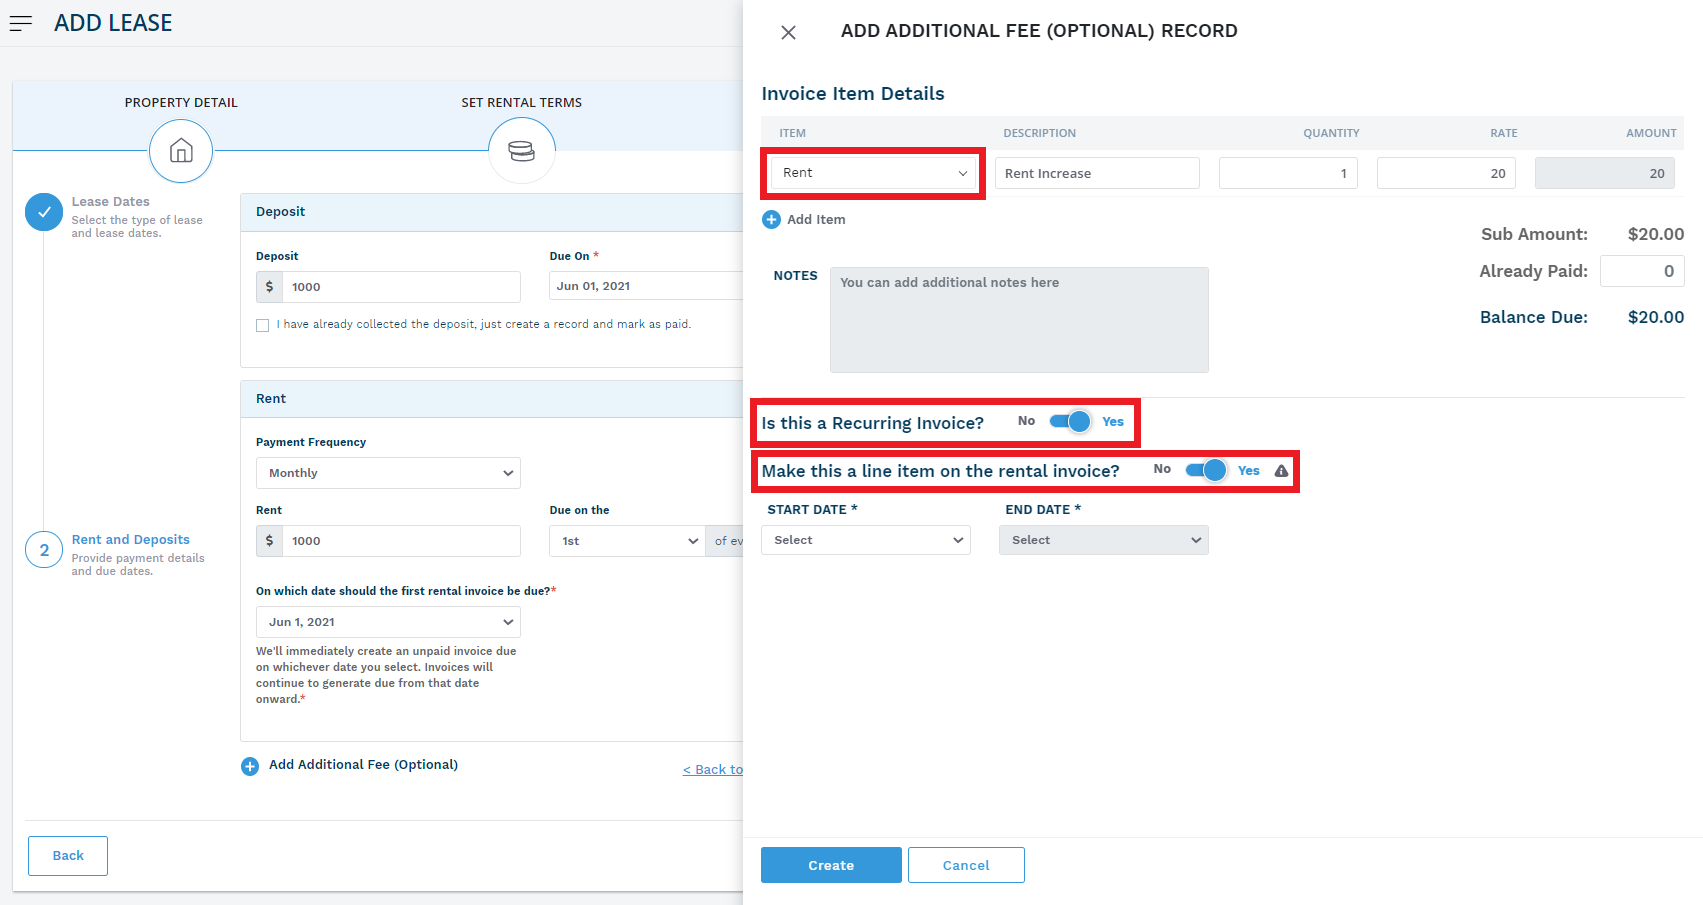
6. From here, select the item type “Rent”from the dropdown list. Since your rent increase is classified as a Rent item, you’ll want to correctly assign this so that it shows up in your P & L report as part of the rent you’ve collected.
Type in a description (we recommend “Rent Increase”), then select the quantity and the rate to set the amount. If your increase is a percentage of the current rent amount, calculate this manually and type in the exact amount in the rate column.
Be sure to set this additional fee as a recurring invoice, and also make it a line item on the rental invoice.
7. Before finalizing a start and end date, be mindful of the two options you have to setup these increases. You can either chose to stack your rent increases, or just have one line item each year to reflect the overall increase from the base rent.
If you stack the increases, this means you’ll add a new additional fee for the specific increase each year (for example, an $100 increase after two years represented as two “Rent Increase” line items of $50, just with different start dates). This will mean you’ll have multiple additional fees with overlapping start and end dates.
If you’re not stacking them, you’ll want to be sure that you set the appropriate start and end dates for multiple fees (for example, an $100 increase after two years represented as one line item of $100 for just the period of the third year, and so on).
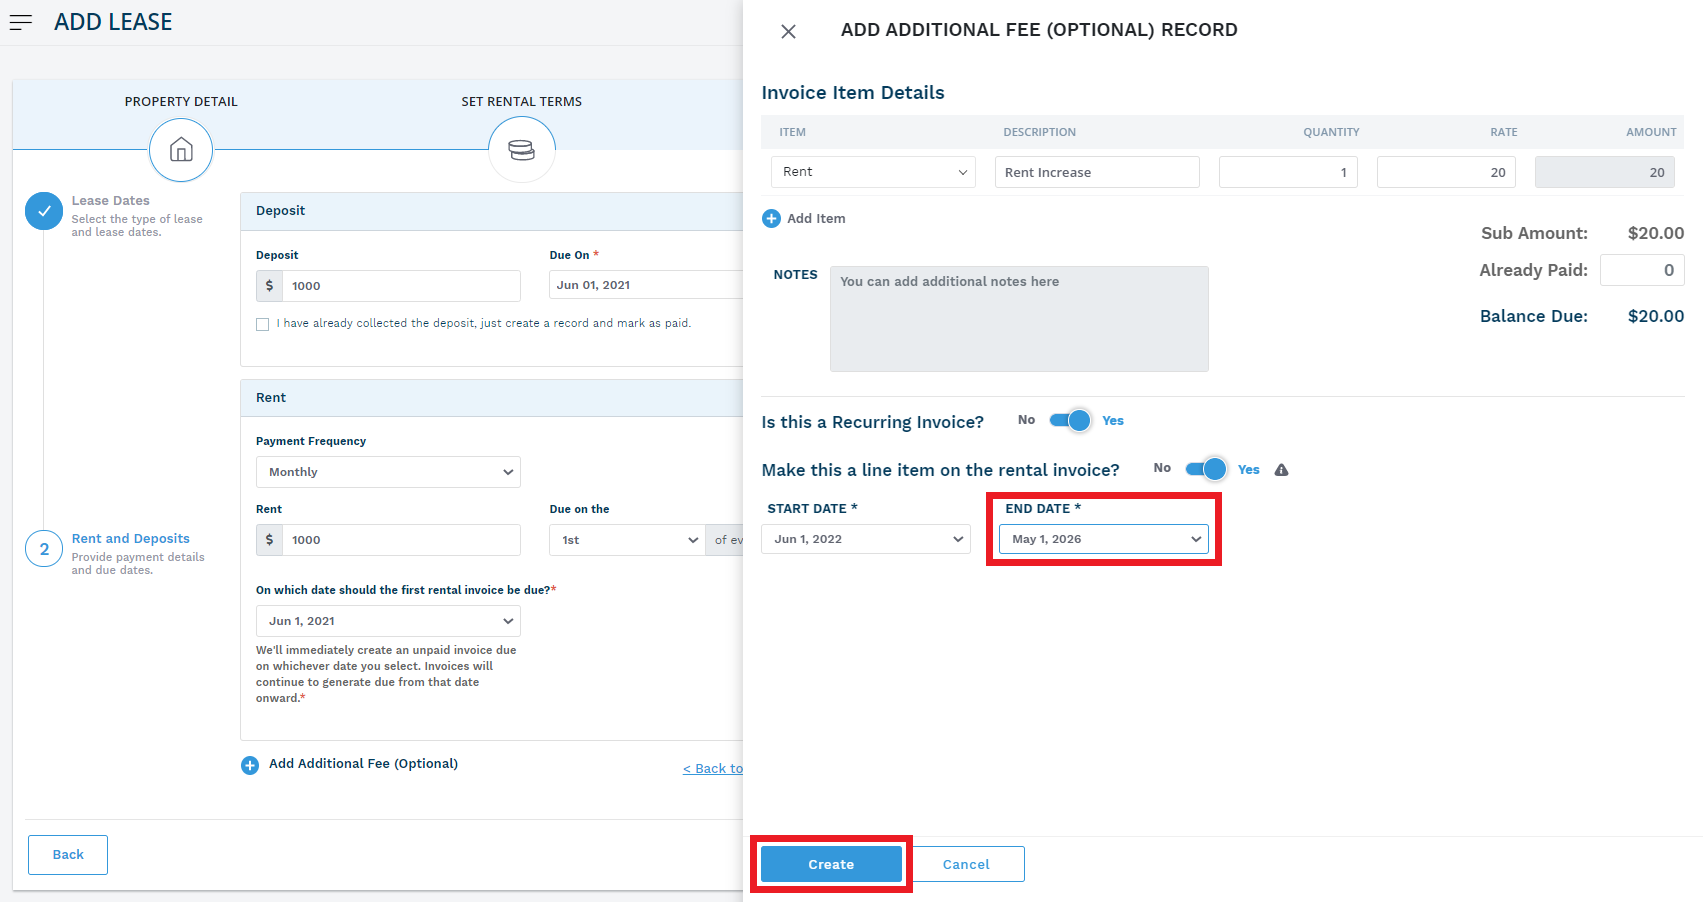
Once you’ve chosen which method you’ll use, click “Create” to get started, then continue to add addtional fees until you’ve finished inputting all of your rent increases. Click “Next” if you’re in process of creating a new lease term, “Save” or “Save and Next” if editing an existing lease term.