
No matter what your portfolio size, inputting all of your rental and property details manually can be a tedious task. Fortunately, our Instant Onboarding tool lets you set up your entire portfolio all at once, instead of adding each lease/property by one-by-one. You can just simply upload documents that you already have — a rent roll spreadsheet for example — and AI reads them and pulls out every property, unit, lease, rent amount, tenant etc.
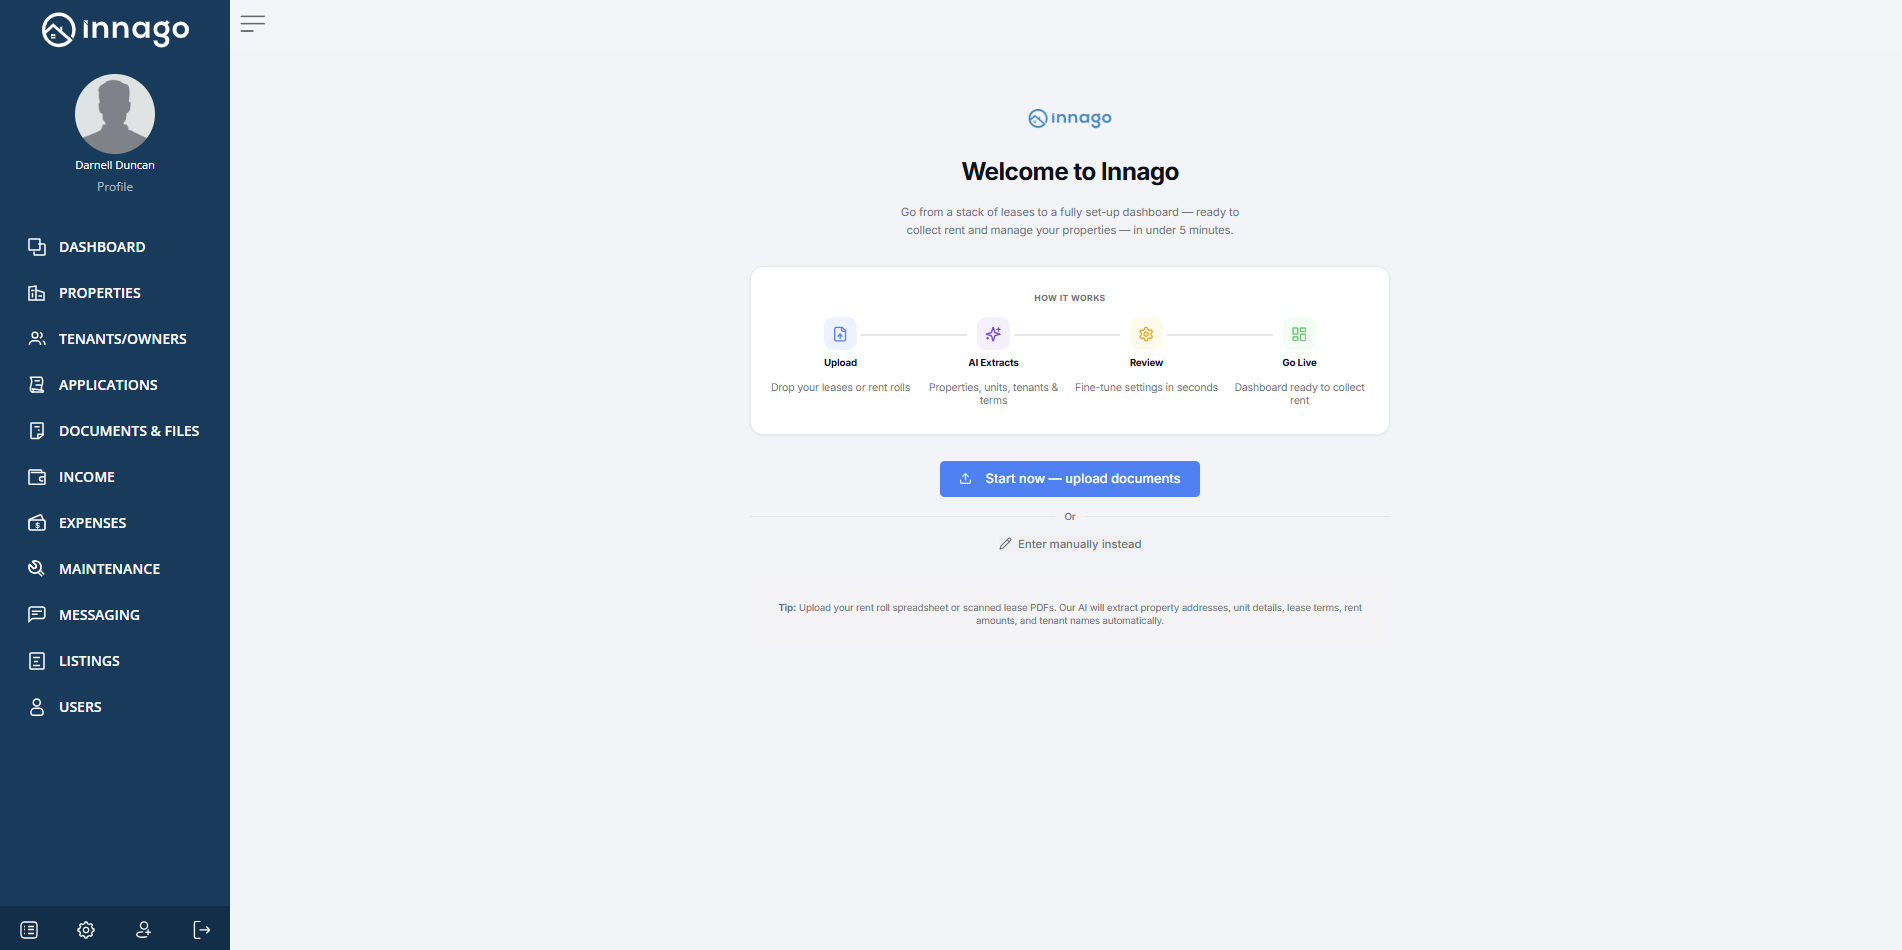
If you have no documents to upload, there is also an “Enter manually” option that skips uploading, and goes straight to the review screen.
Using Instant Onboarding
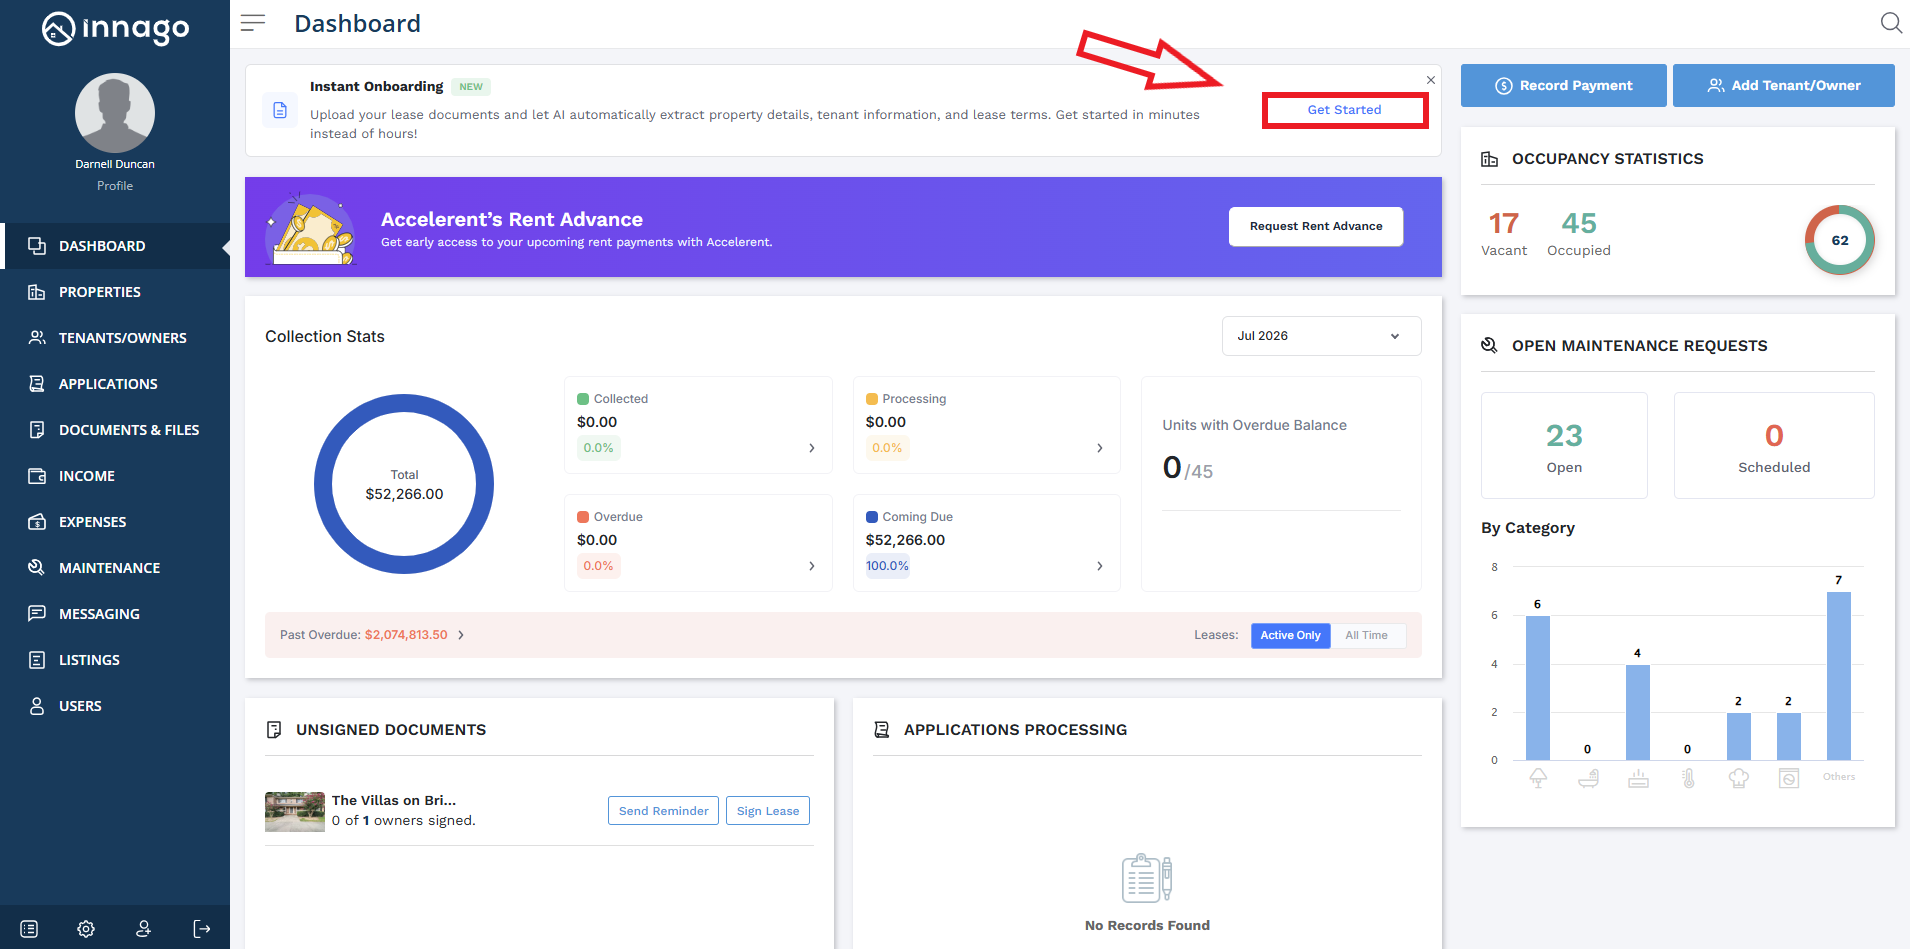
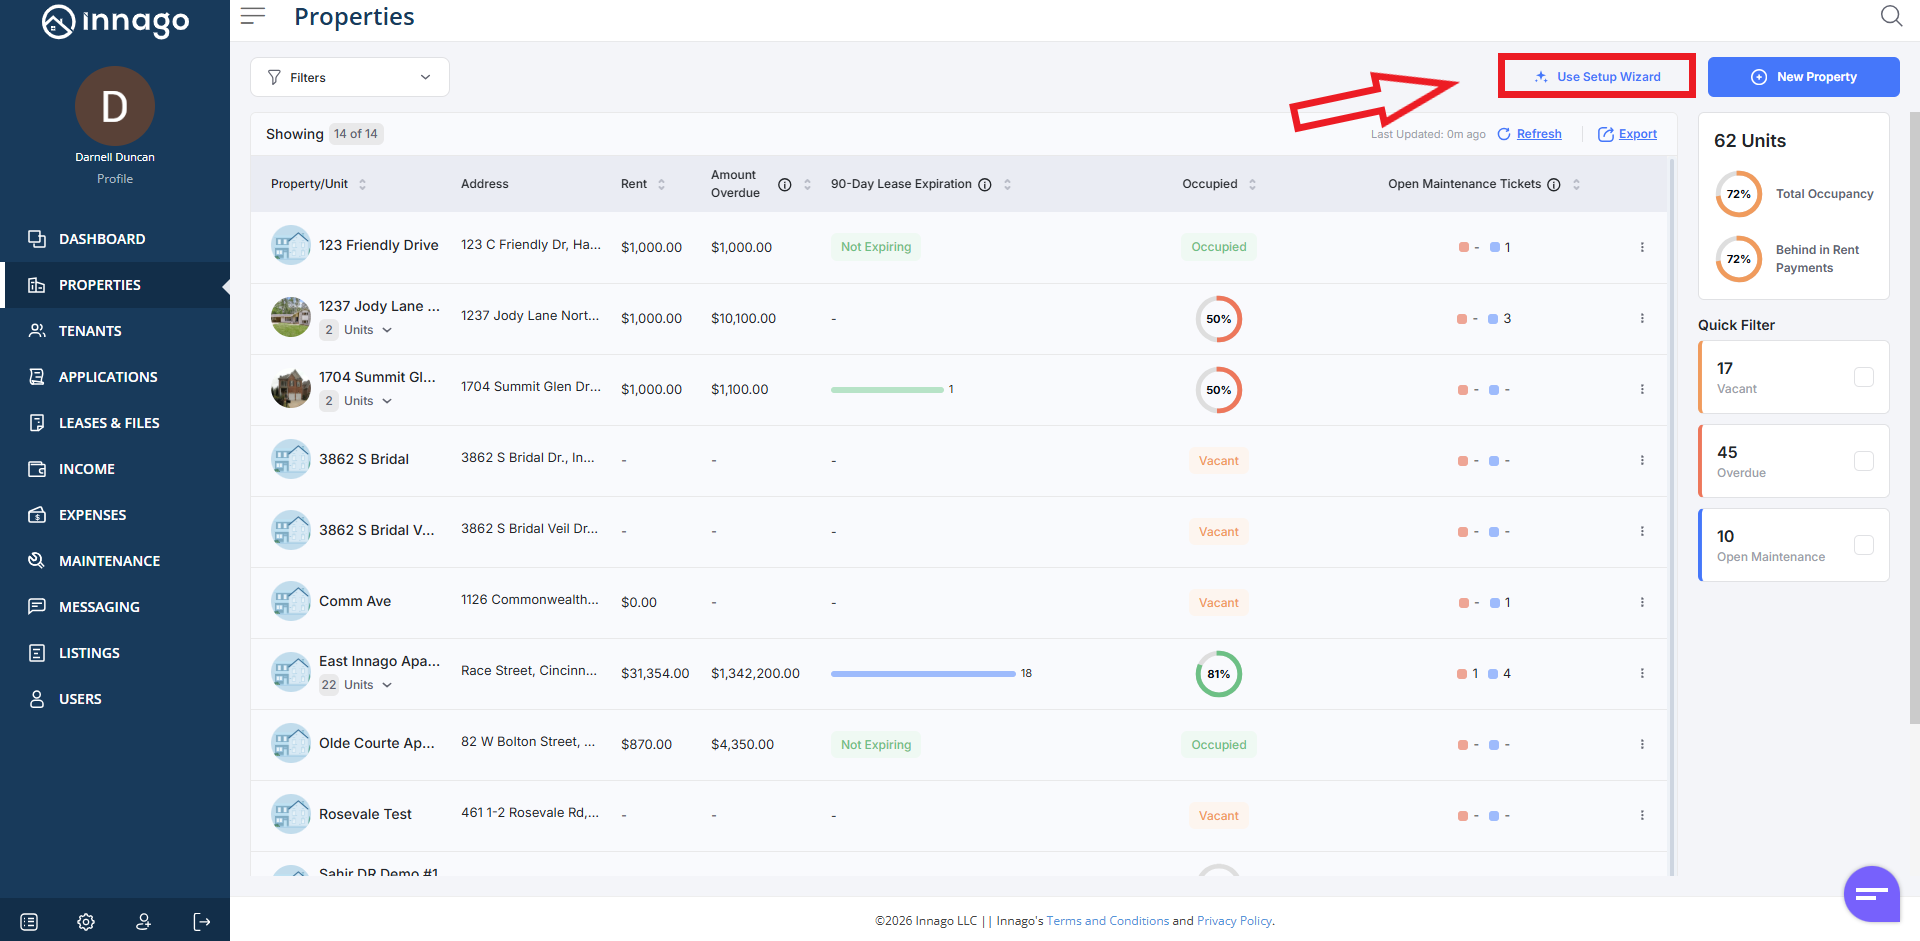
In order to use Instant Onboarding, you’ll click “Get Started” from the banner at the top of your Dashboard. You can also click “Use Setup Wizard” from your Properties pag.
On the next screen, you can either upload documents, or choose the option to enter in information manually instead. Several files can be selected at once (for example a rent roll, plus a handful of lease PDFs)
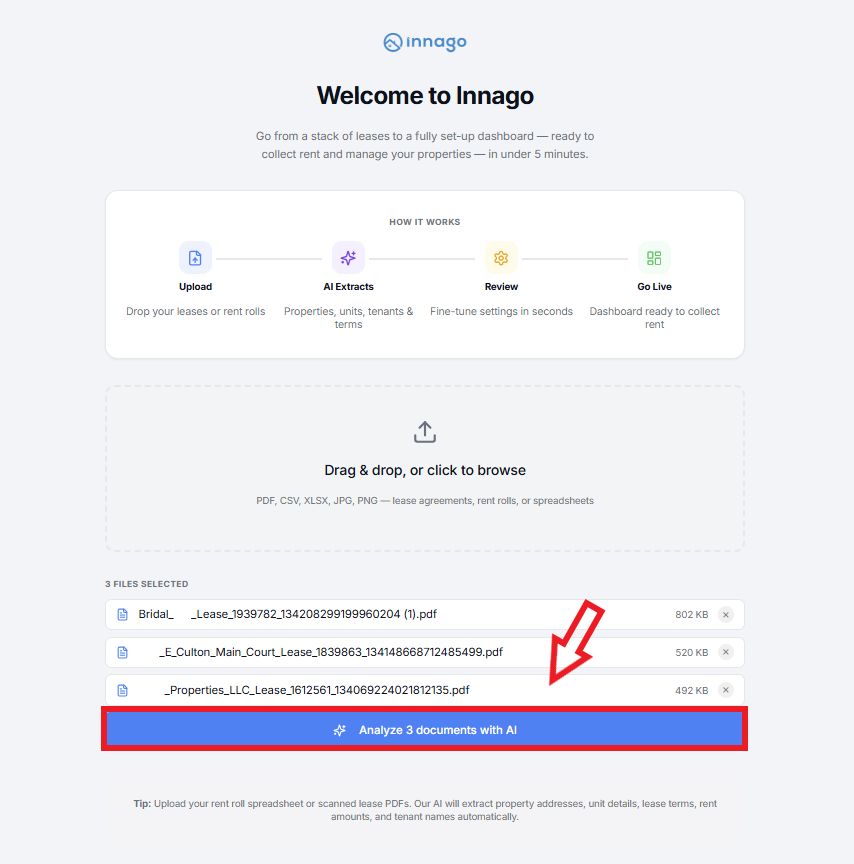
Document Upload
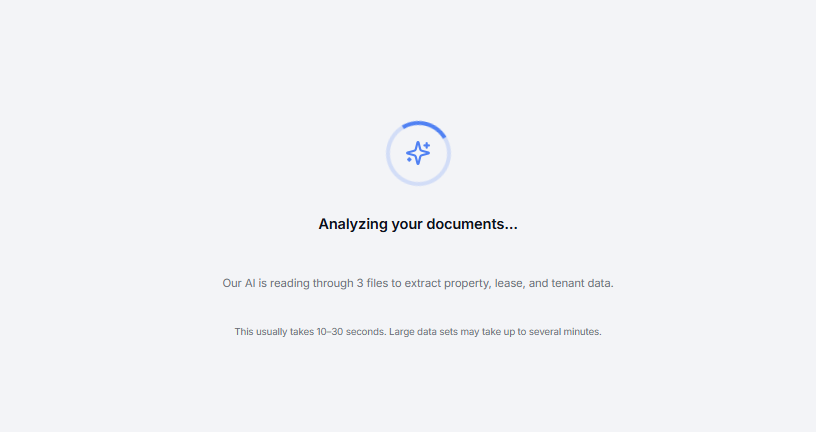
After selecting files, you’ll click “Analyze documents with AI”. A progress screen appears with a Cancel button. This usually takes 10–30 seconds; large portfolios can take up to a few minutes.
Please note:
- The upload limit is about 150MB total per upload, and up to roughly 20 files at a time. Very large portfolios can be split into multiple uploads.
- Cleaner source files give better results. A tidy rent-roll spreadsheet with clear columns (address, unit, rent, lease start/end, tenant name) works especially well.
- Scanned lease PDFs and images work too — the AI reads the text — and clear, legible scans extract more accurately.
- If the lease term is already expired, you will not be able to complete all the requirements for uploading.
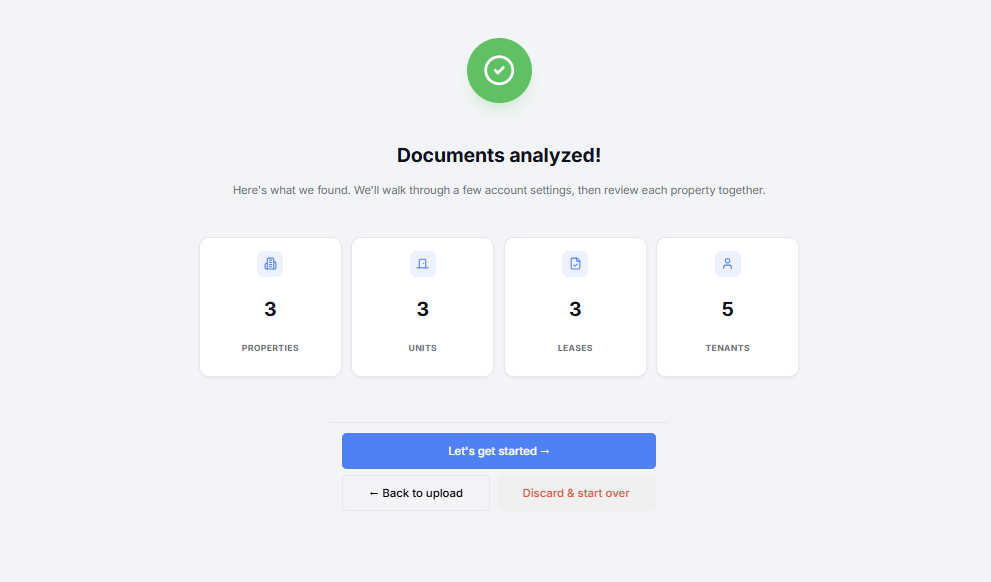
Once your documents have been analyzed, you’ll see a short summary of what was found. If everything looks just about right, click “Let’s get started” to proceed. If you want to start over, click “Discard & start over”.
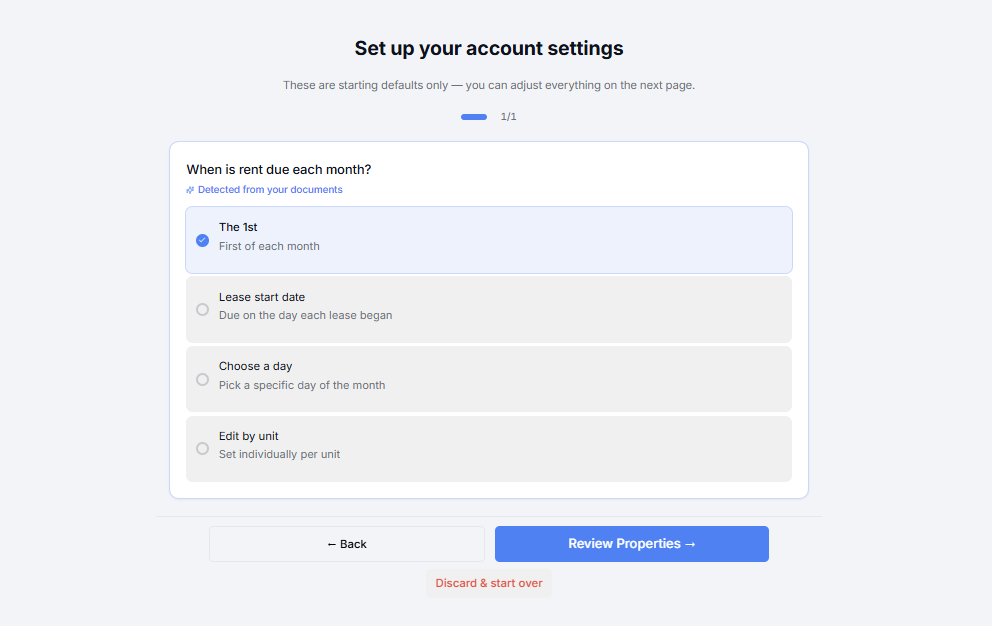
From here, you’ll be able to configure various settings, review your upload details, and you’ll also be able to add more properties and lease terms manually. You’ll be taken to the same screen you’d see if you choose “Enter manually instead” on the initial onboarding screen.
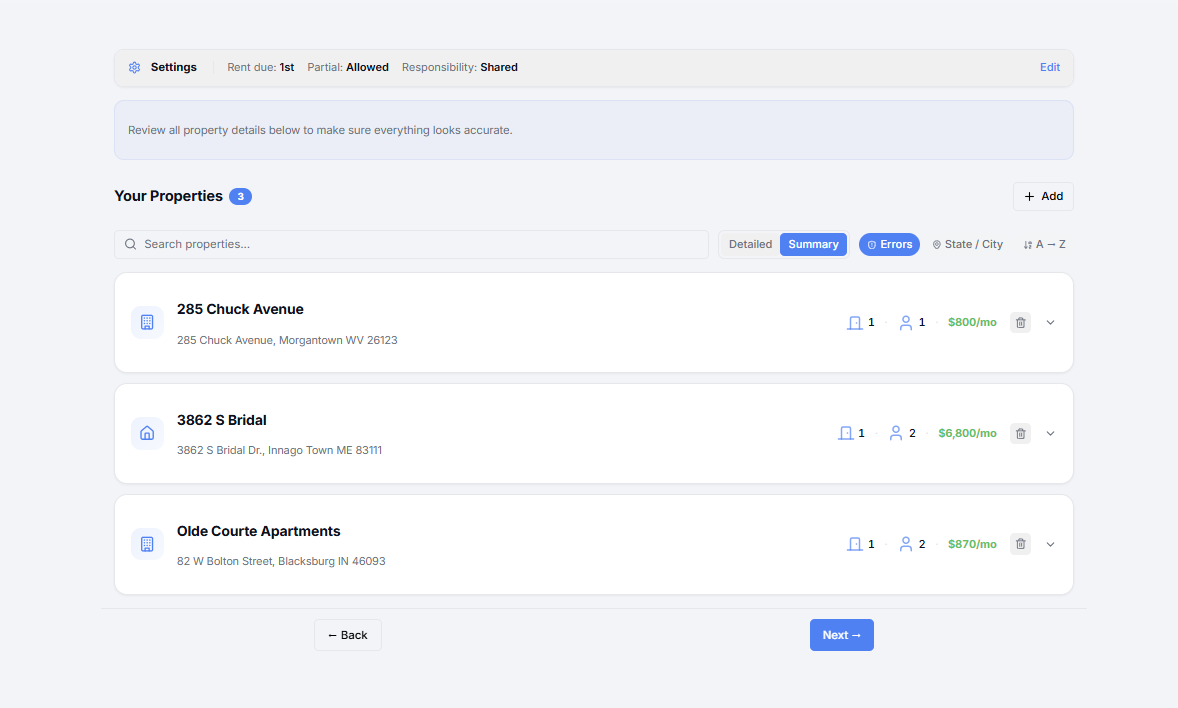
Each property will appear as a card, and opening it will show its units, lease terms (rent, deposit, dates), and tenants. Click “Add” if you need to add any additional properties and lease terms etc.
Please note, this tool cannot retroactively create invoices. Only current/future dated invoices will be created based on the settings configured on this screen. Keep this in mind when creating lease terms.
Additionally, you can click the Settings banner near the top of the page to edit more global lease settings.
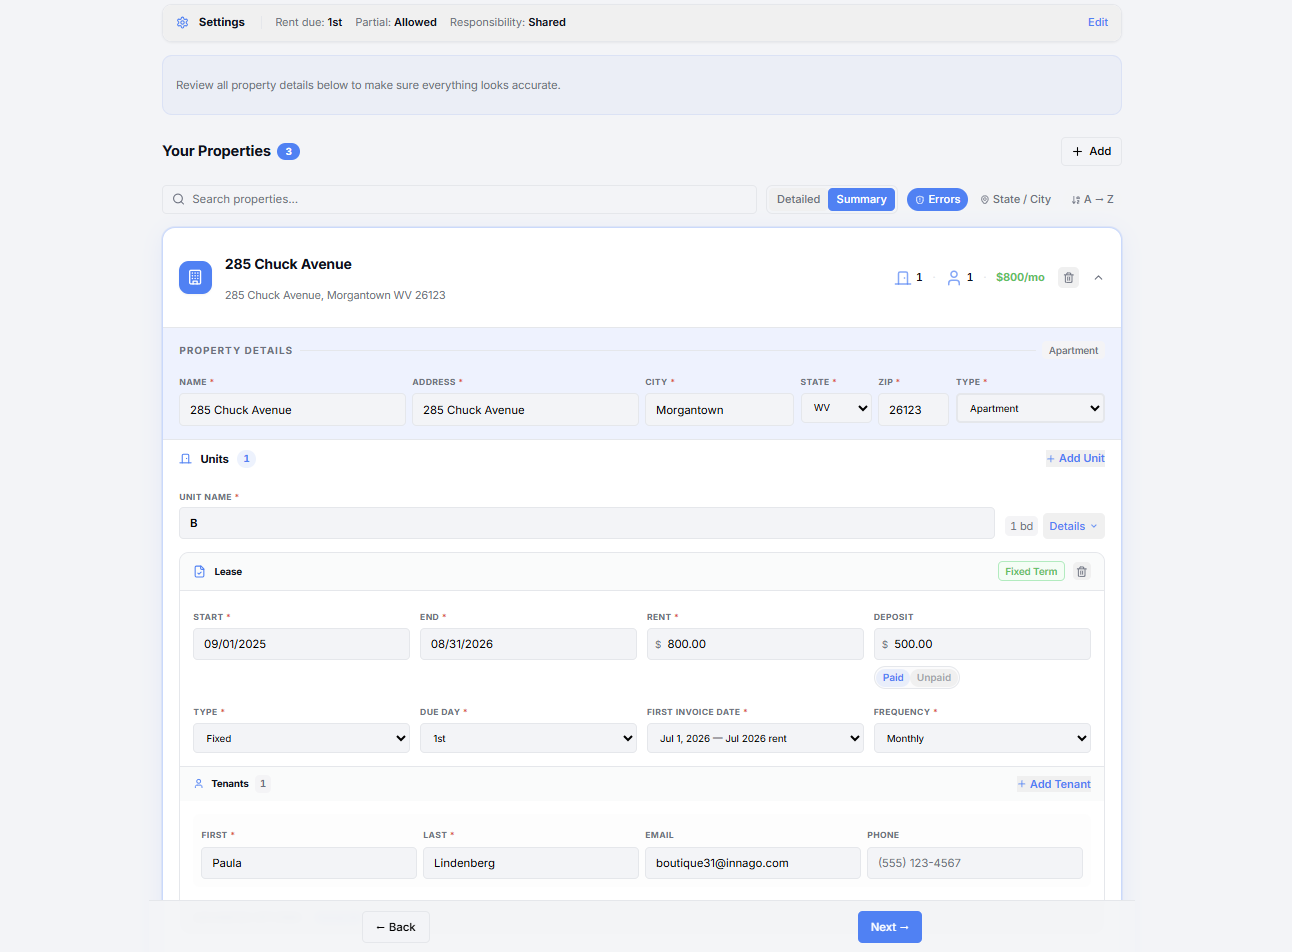
The search box below Your Properties finds a property, unit, or tenant quickly in large portfolios. Be sure to utilize it if you’re uploading several properties at once.
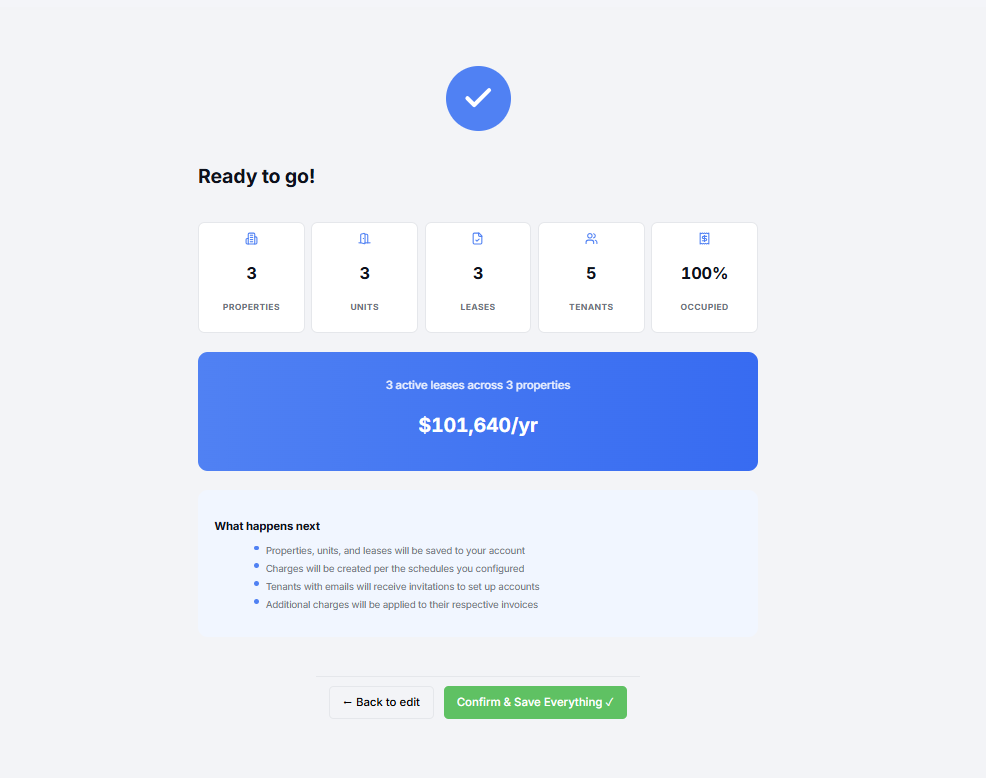
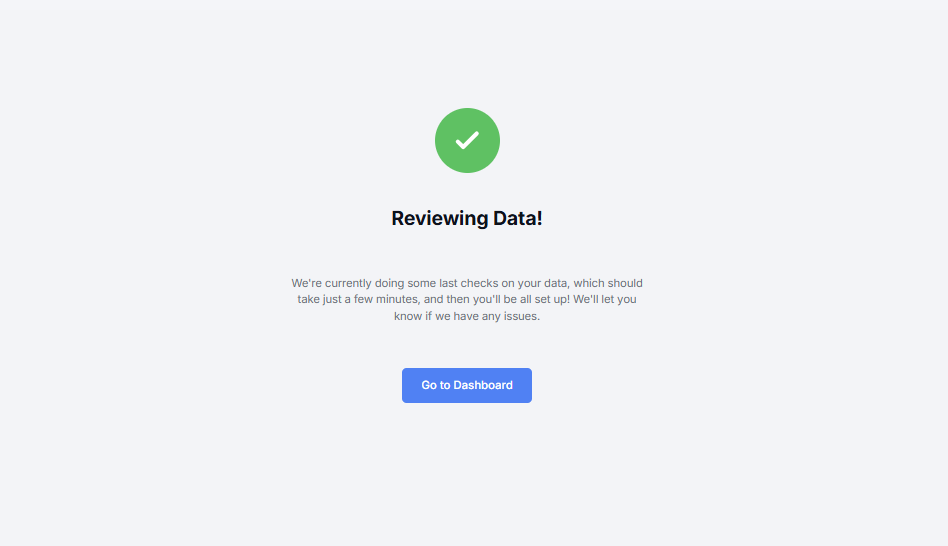
Once you’re ready to move forward, click “Next”. You’ll be able to review another summary of the data you’ve uploaded so far. If you need to change anything, click “Back to edit”. If everything looks good, click “Confirm & Save Everything”. We’ll do some last checks, and notify you if there’s any issues. Click “Go to Dashboard” to see if your onboarding was successful.
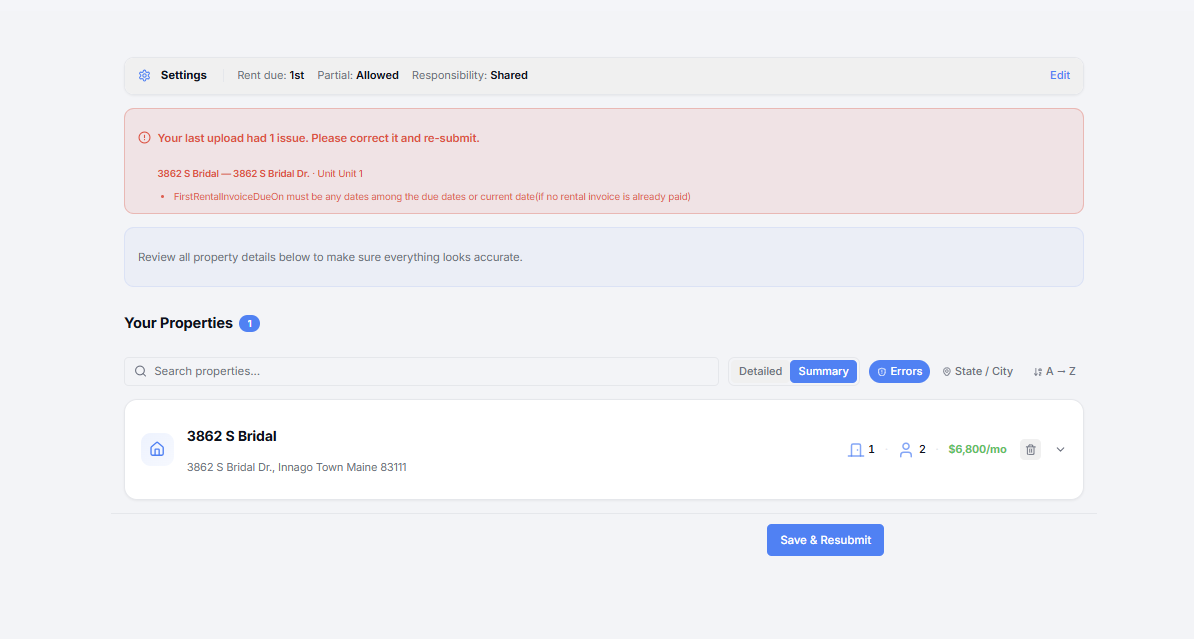
If there were any issues with you’re upload, you’ll see a Needs Review message appear on the top of your Dashboard. Click “Complete Setup” in order to review what needs to be changed.
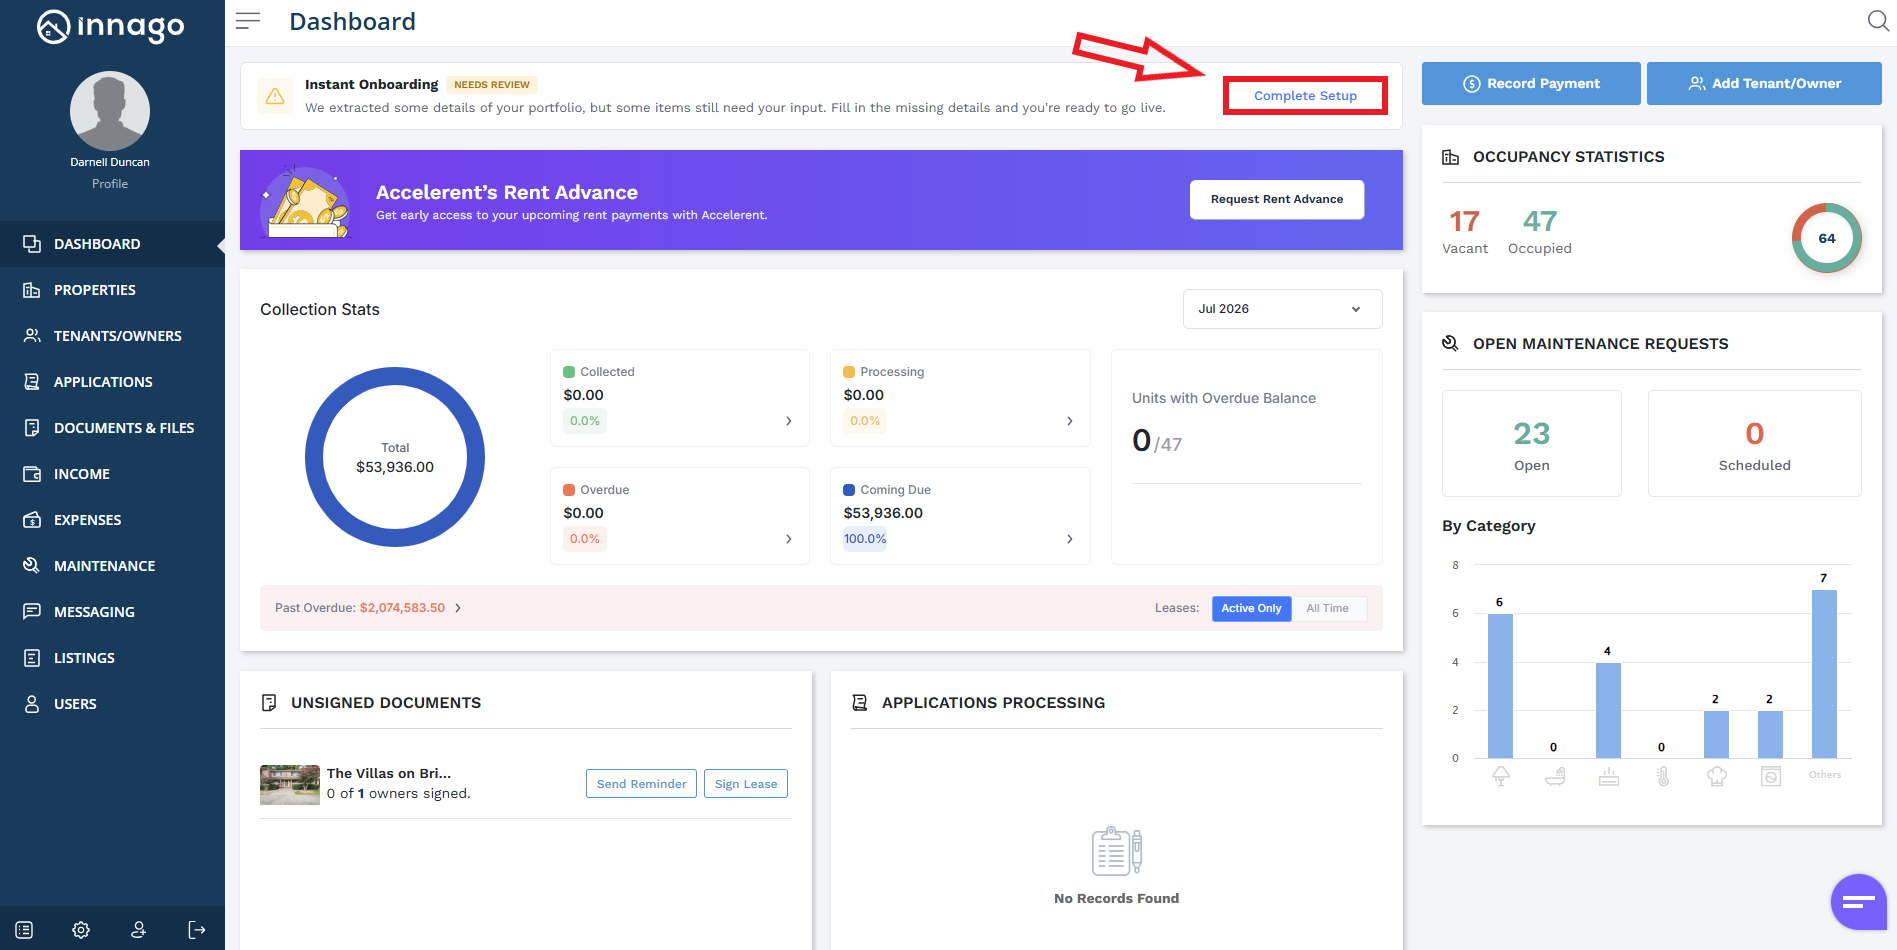
On the next screen, you’ll be shown the exact issue that needs to be corrected. Once you’ve made your required changes, click “Save & Resubmit”.
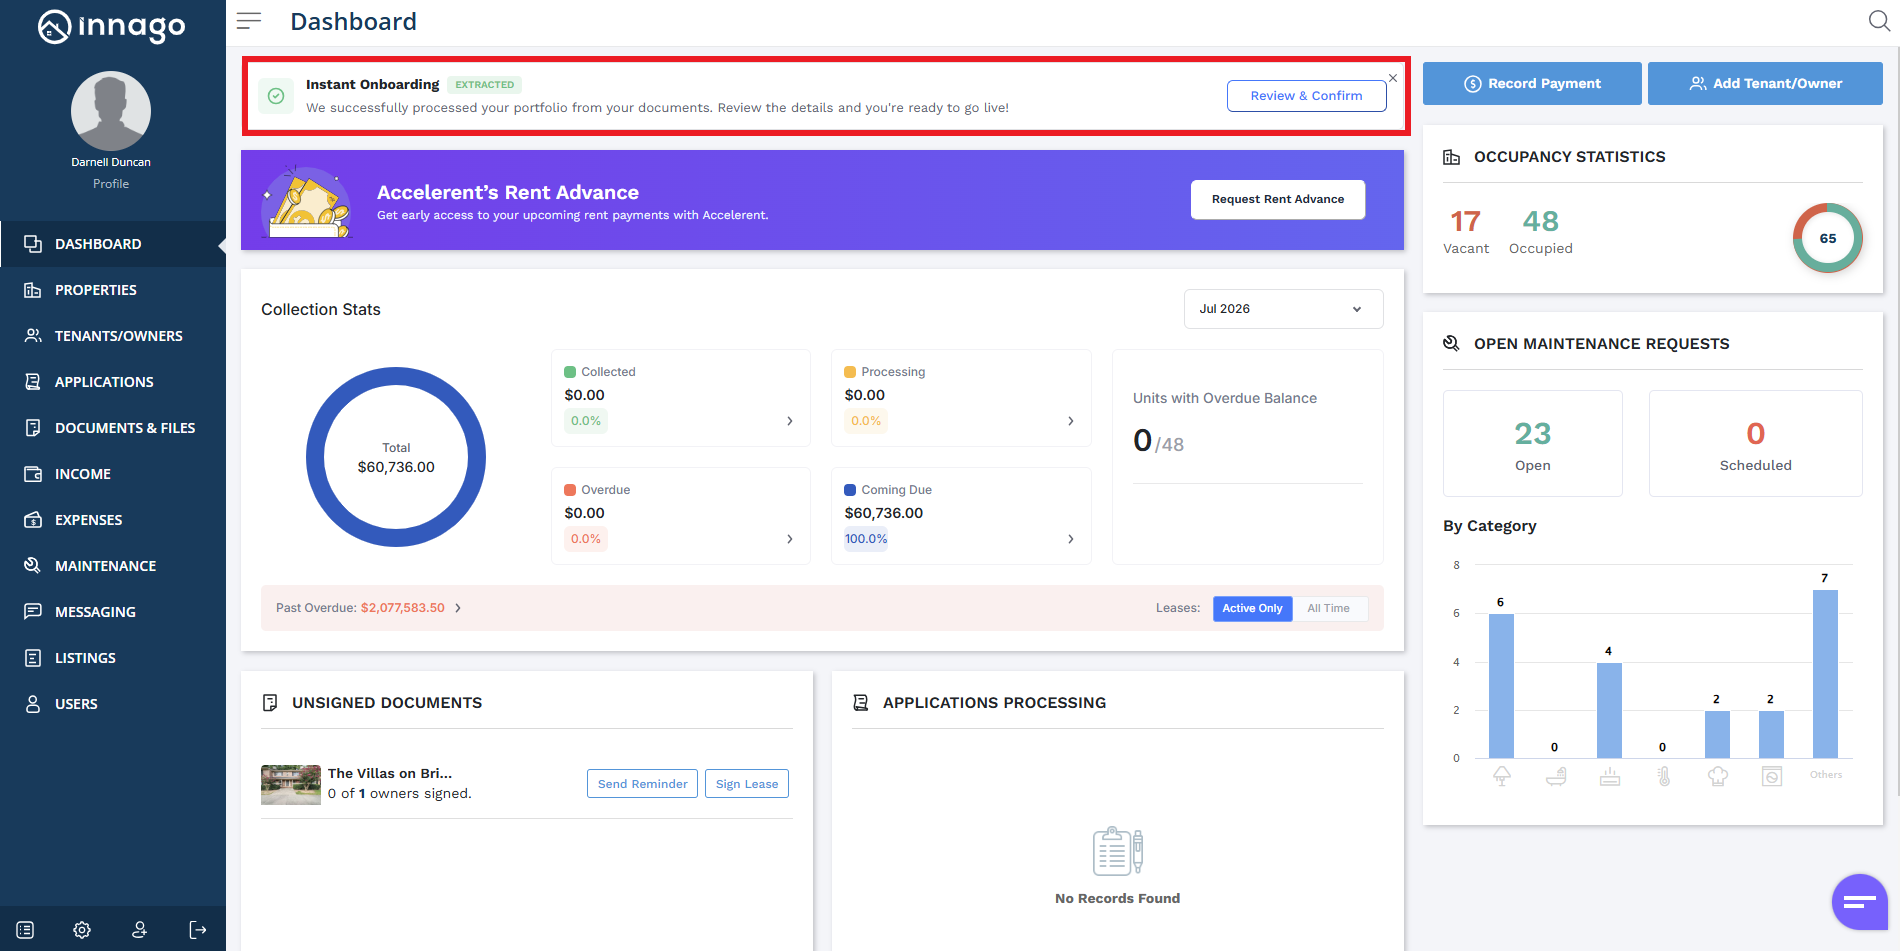
If the upload completed, you’ll see a green checkmark to show that the data extraction was successful. You can click “Review & Confirm” to check your new data via your Properties page, or you can click the “X” to remove the banner.
If you’d like to review a list of our most frequently asked questions regarding Instant Onboarding, click here.