
Say you have to prorate an invoice, add an additional fee, or credit a tenant’s invoice – you’ll need to learn how to edit a single invoice!
If you need to make any changes to a single invoice within Innago, you can follow these steps:
-
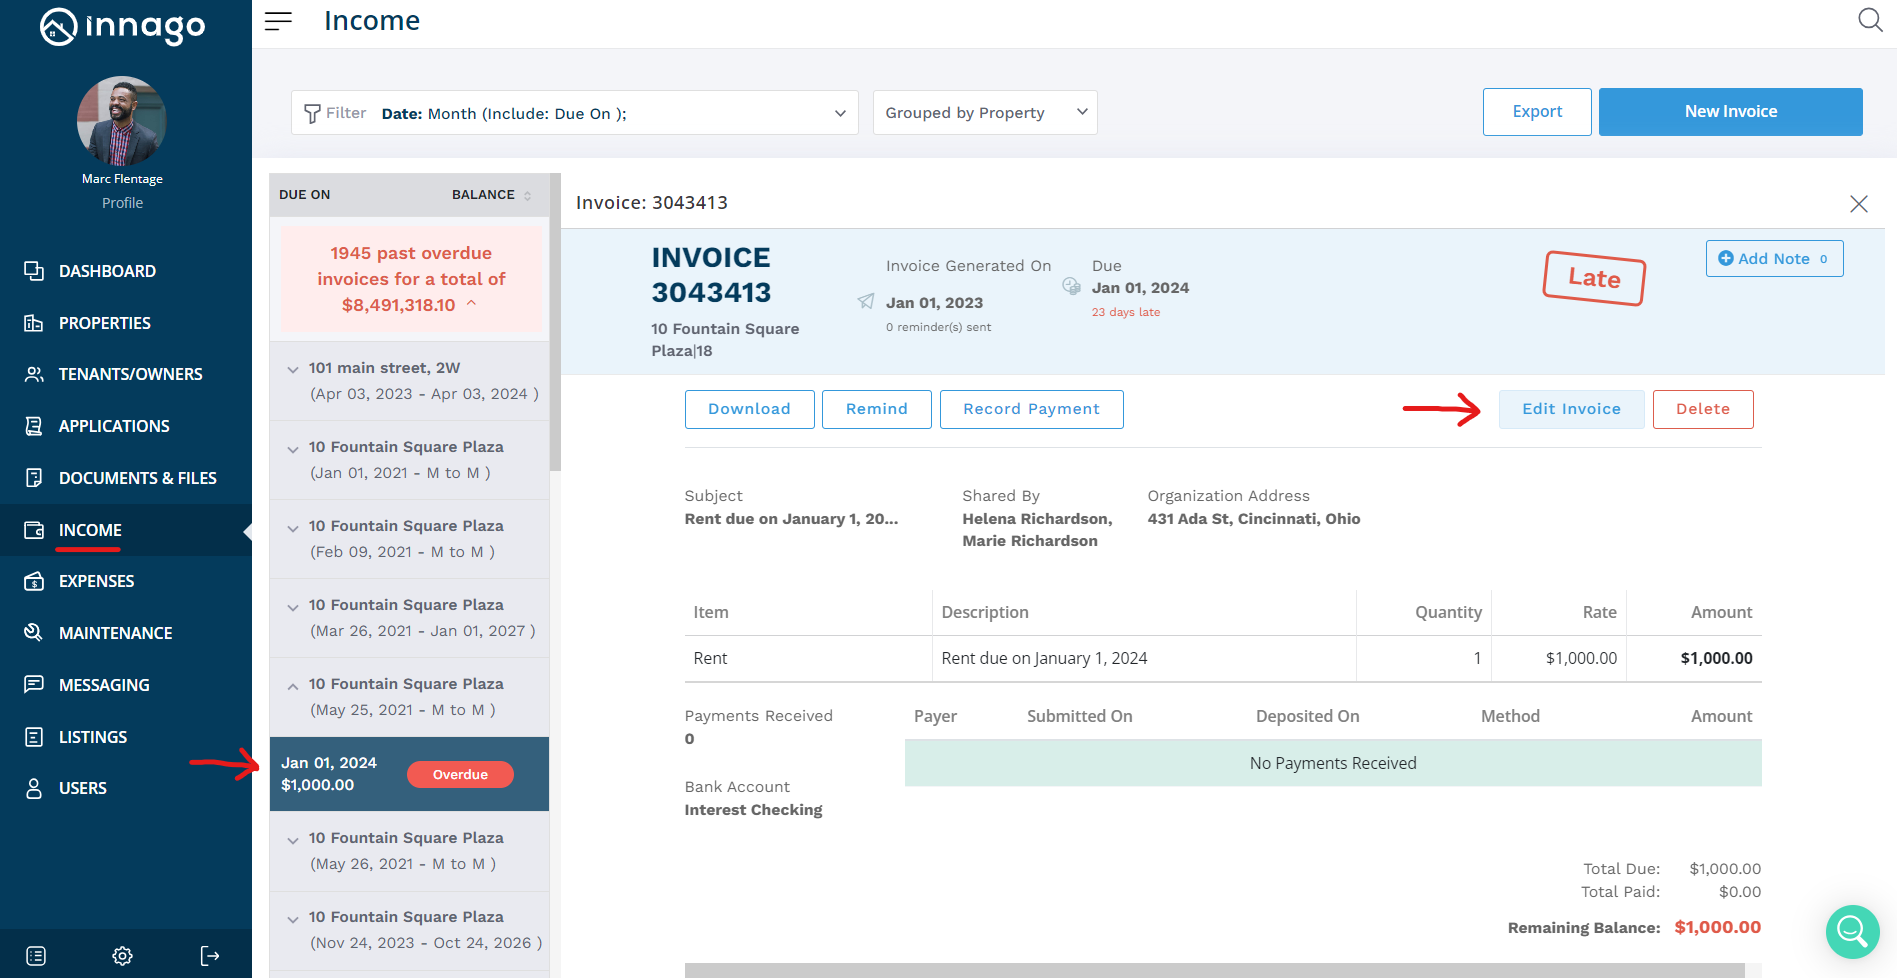
In Innago, navigate to your Income page from your main menu.
-
From the Income page, you’ll need to use your Filters to find the invoice you need to edit. Please note, by default, the date range will be limited to the current month. The mobile app will present you with different “status filter tiles” that you can tap on when you first vist the Income page, but you can also use the direct filter tool as well.
-
Results will be grouped by property by default, so you’ll want to click or tap on the property/unit that is associated with the invoice. The result will expand and list any invoices that fit your filter criteria. When you find the invoice you’re looking to update, click/tap on it.
-
On the invoice, you should see the option on the right hand side to click “Edit Invoice” if using a web browser.
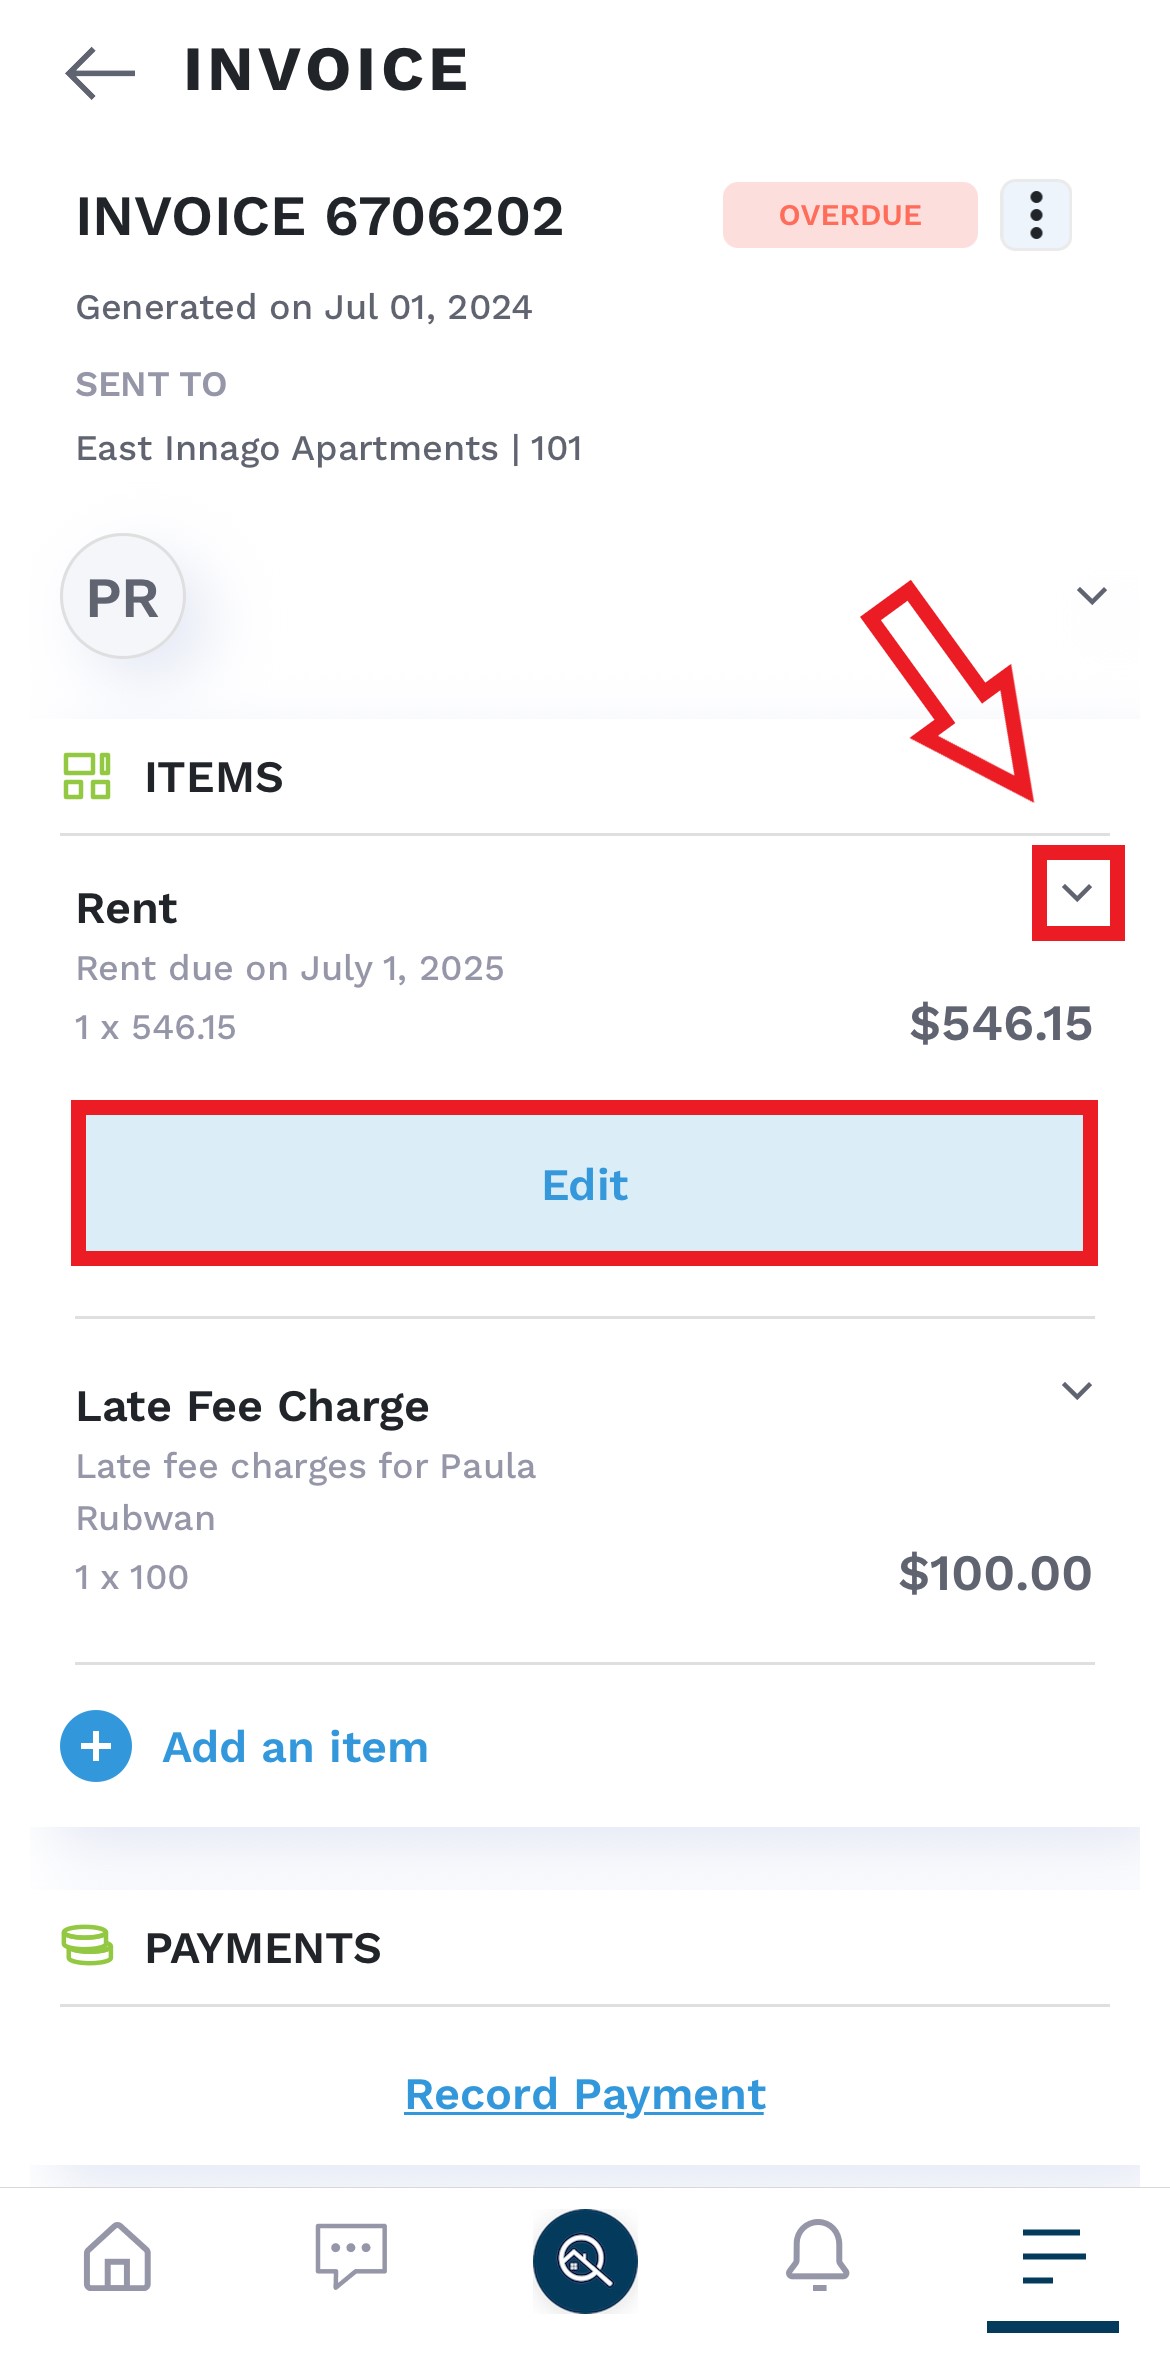
If you’re on the mobile app, you’ll tap on the existing line item you want to edit under the Items section, and then tap the “Edit” button. You can also tap “Add an item” to add any new line items. Please note, the option to edit the due date is not available on the mobile app.
5. After you’ve made your changes, make sure you click “Save” via web browser or confirm the change via mobile app to finalize your changes!
Now you’re all set! The invoice will be updated immediately, and the changes will also immediately apply to the tenant’s dashboard as well.