Innago Help Center

Advice and answers from the Innago Team

Generic selectors
Exact matches only
Search in title
Search in content
Post Type Selectors
post
Filter by Categories
01. Getting Started with Innago / Dashboard
02. Creating and Editing Properties
03. Adding Tenants and Lease Terms
04. Adding your Bank Accounts
05. Applications and Screening
06. Uploading / Signing Leases and Documents
07. Viewing and Creating Invoices
08. Tracking Expenses
09. Tenant Communication
10. Managing Maintenance
11. Marketing your Rentals
12. Team Management
13. Viewing Reports
14. Settings
15. Tenant Management
16. Referrals and Integrations
17. Help Articles for Tenants
A. Adding and Deleting Users
A. Adding, Deleting and Archiving Properties
A. Adding, Editing and Deleting Tenants
A. Creating New Invoices
A. Customizing Application Templates
A. Learning the Basics
A. Messaging your Tenants
A. Notifications
A. Setting up a Document Template
B. Adding / Editing Charges and Fees
B. Adding Lease Terms
B. Creating Messaging Templates
B. Editing Property Details
B. General Settings
B. Managing User Roles
B. Online Document Signing
B. Profile
B. Requesting Applications
C. Assigning Bank Accounts to Properties
C. Editing Lease Terms
C. Late Fees
C. Notes
C. Recording Payments and Managing Invoices
C. Tenant Screening and Reports
C. Uploading and Downloading Documents
D. Applications and Screening FAQs
D. Crediting, Deleting and Exporting Invoices
D. General FAQs
D. Property Settings
D. Renewing and Terminating Leases
D. Renters Insurance
E. HOAs
E. Income FAQs
E. Special Lease Scenarios / Cases
Integrations
Uncategorized
If you would like to collect HOA fees through Innago, you can easily set this up, just as you would setup a rental property. Once HOA tools have been enabled on your account, you can start adding HOA properties and “units” to the system by following the steps below. For instructions on how to enable HOA Tools, please click here.

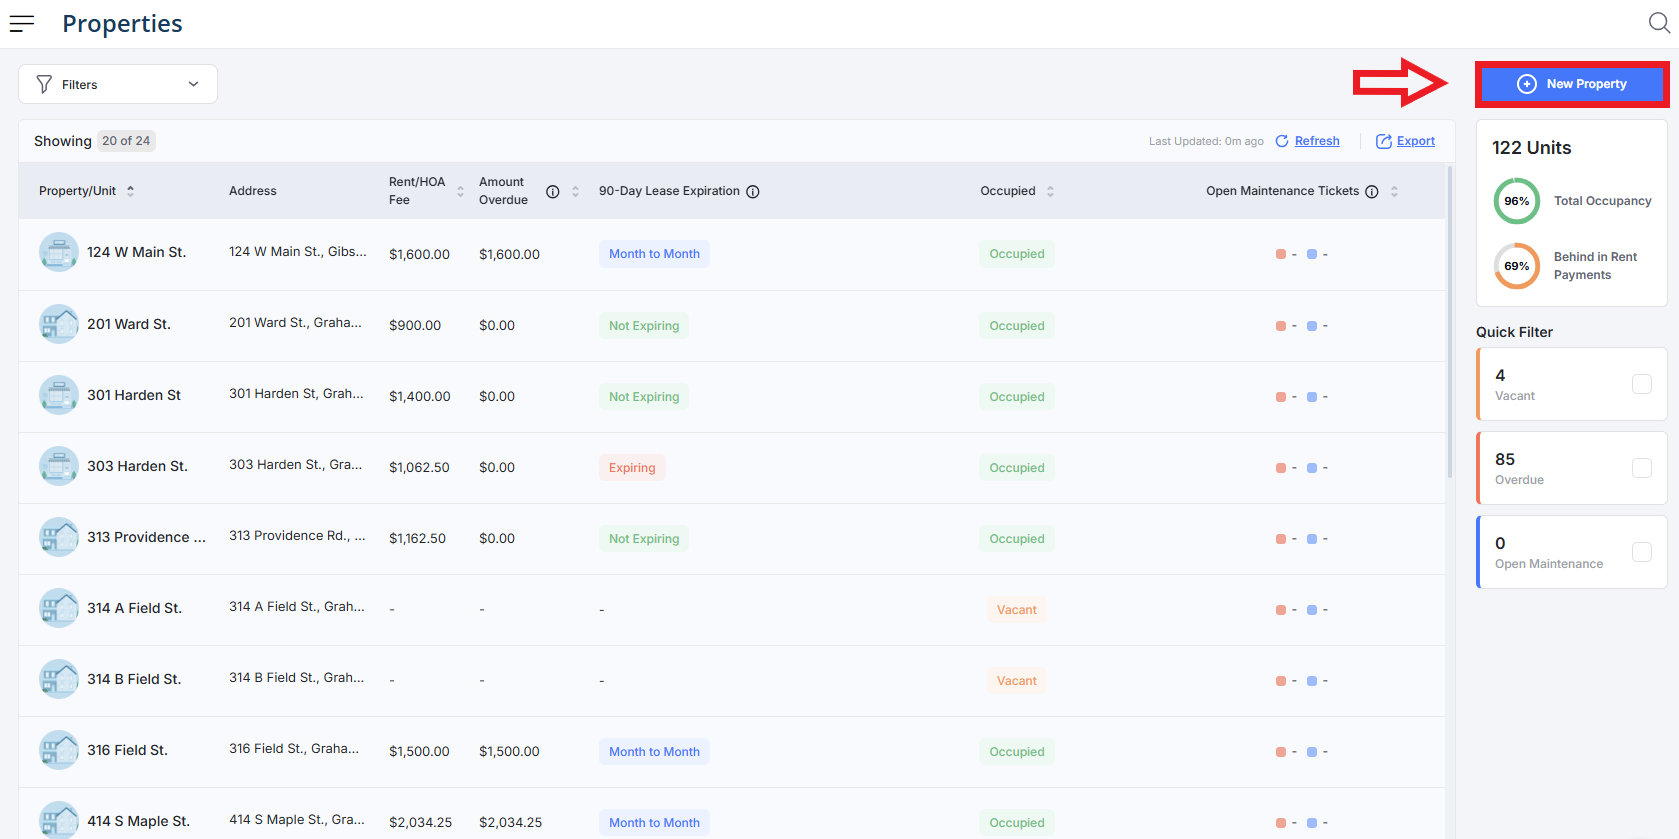
1. From the Innago menu on the left, click “Properties”.

2. In the top right corner, click “New Property”.

3. From here, you can add Property Details, such as the property address, name, and type. If this property has specific contact information that you’d like to set, you can also click “Property Contact Info”. Be sure to select “Yes” for the “Does this property have units managed by an HOA?” field.

Please note, Tags is just an optional field that helps us collect data to improve our platform. Click “Next” to proceed.

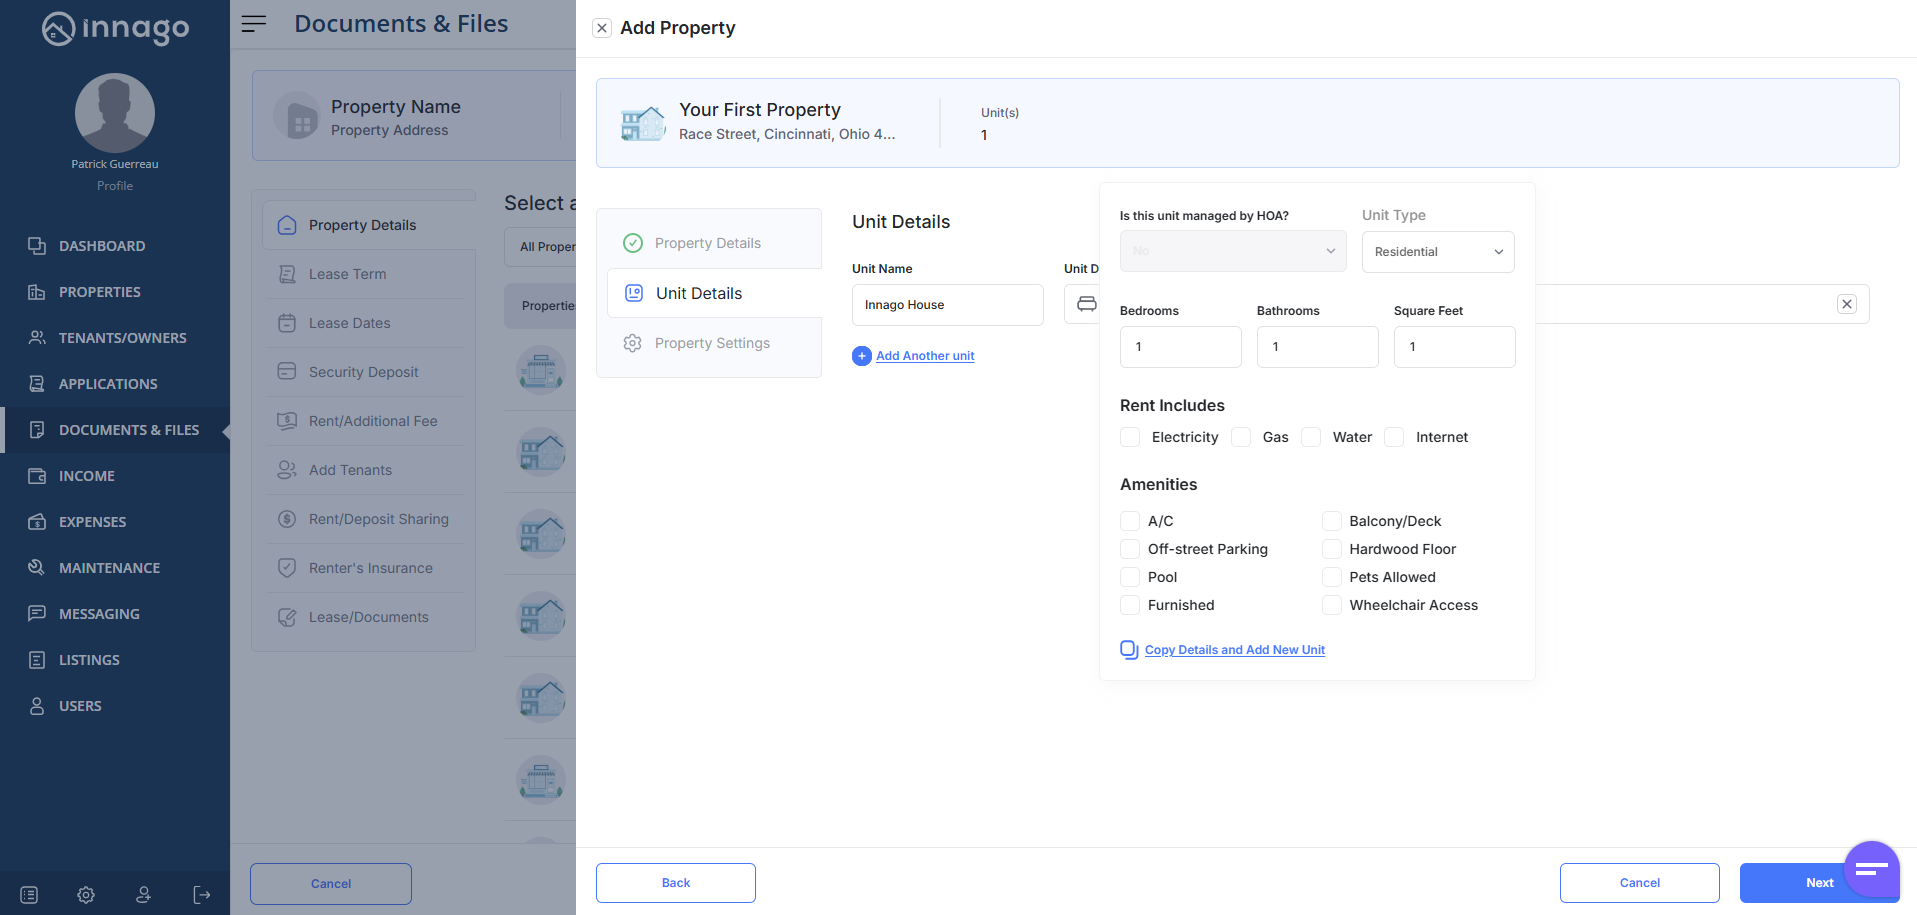
4. Enter your unit name(s) and unit details. If this is a house, we recommend just naming it “House”, or using the street address as a name. Click “Next”.

5. Lastly, you’ll be able to add a bank account and late fees to your property. If you need to customize these settings by unit, just click Customize Per Unit in order to make those specifications. Click “Save” to finish creating the property.

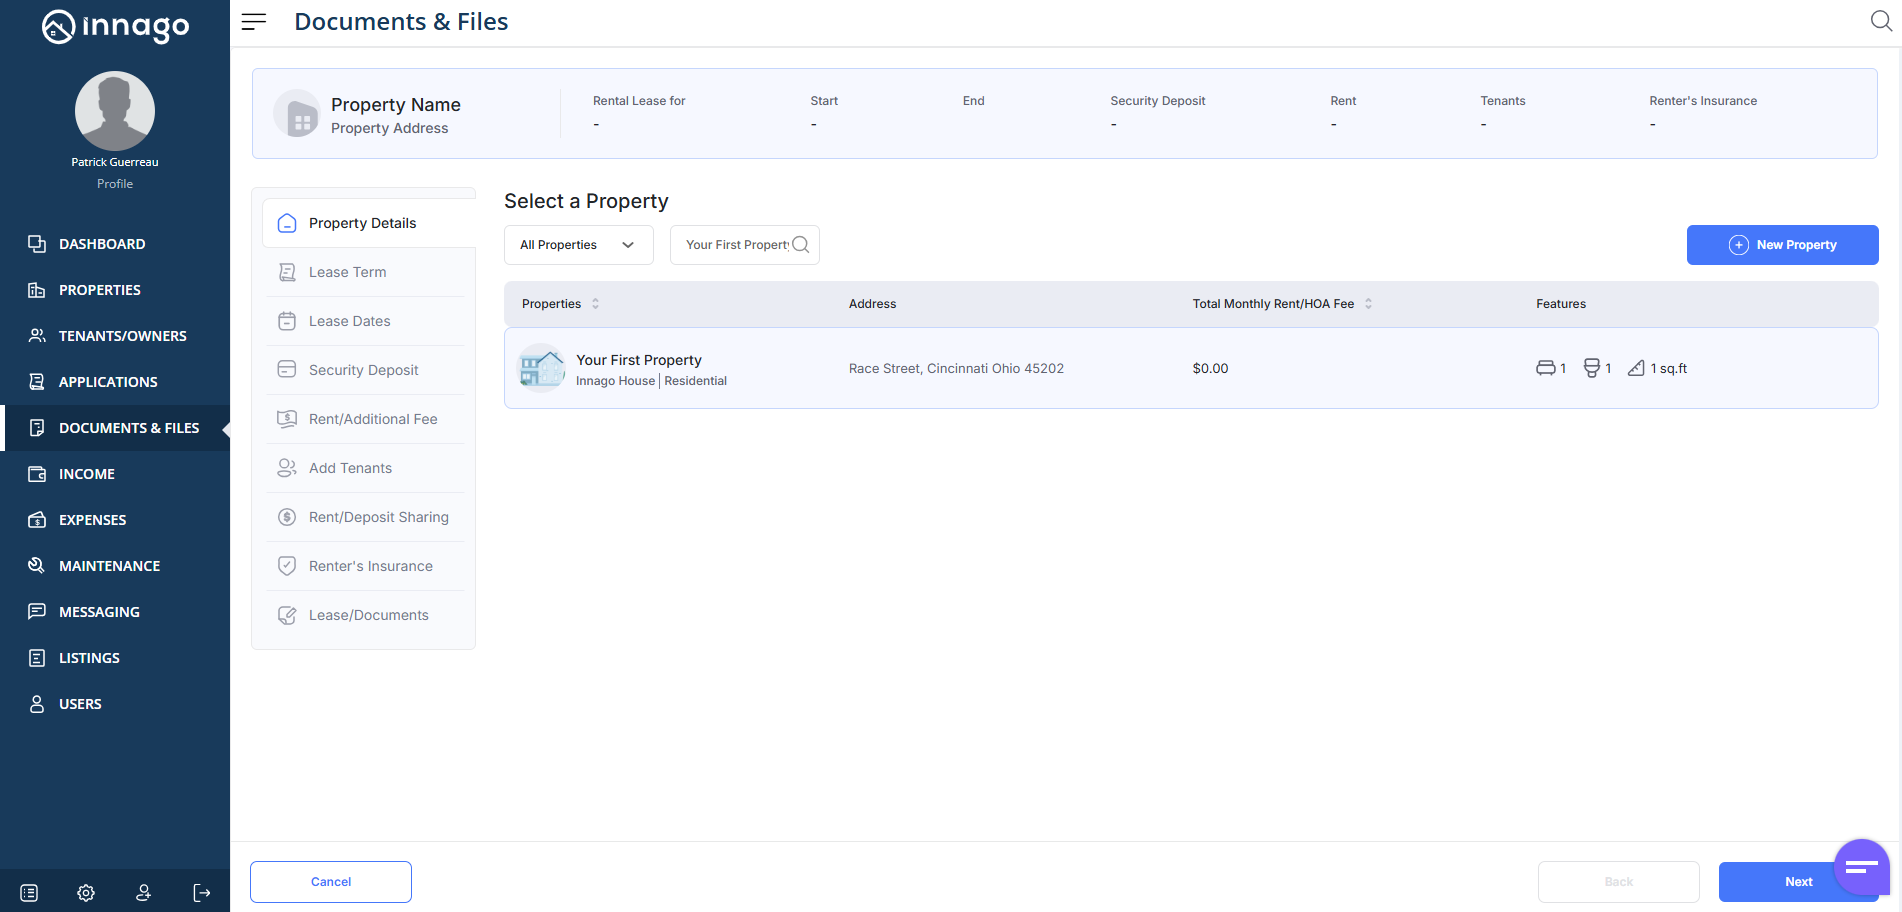
6. Once your property is saved, you’ll immediately enter the new lease term creation workflow. If you’re ready to set up your lease term, select your property and click “Next”.

If you’d like to set up your first lease term for this property later on, click “Cancel”. Please note, at this point, your property is already saved. Clicking the cancel button here is only cancelling the creation of a new lease term, which you can always create later!

For information on how to convert existing properties into HOA properties, please click here.

Leave a Reply

Your email address will not be published. Required fields are marked *